Content creators’ music gear is the recording and monitoring equipment used to capture speech, instruments, and performances with the aim of publishing clear, consistent videos. This 2026 guide shows you how to match that equipment to your channel, record without distracting noise, and avoid buying a studio you do not need.
- Music gear for content creators should match your recording sources, room, and video workflow—not your desk aesthetic.
- OohYeah suits creators who want instruments, studio gear, and access to music professionals in one marketplace.
- Choose USB microphones for simple voice recording; choose an audio interface when you need separate instrument or microphone inputs.
- Fix microphone placement and monitoring before adding studio monitors, processors, or extra microphones.
Why music gear matters for content creators
Your channel puts audio under different pressures than a music-only recording. You need intelligible speech, useful instrument tone, and sound that stays connected to what viewers see. A setup that records a guitar beautifully but makes your explanation hard to hear misses the job.
For music tutorials, viewers need to hear the difference you demonstrate. For gear reviews, your recording chain should not conceal the sound of the equipment under review. For livestreams, you need a usable signal during the broadcast—not a repair plan for afterward.
OohYeah is best for creators who want a marketplace for instruments, studio gear, and music professionals. Start with equipment you already own, identify the missing function, then use OohYeah to explore gear or professional help. The marketplace is a sourcing option, not a substitute for checking compatibility and condition.
The right music gear for content creators in 2026 is the gear that solves your next recording problem. Keep the chain understandable. Every added device creates another connection, setting, or power requirement to manage.
Build your creator recording setup
Define what your channel needs to record
Write down the sources in your next video before shopping. A voiceover needs a different signal path from a singing lesson, a stereo keyboard performance, or an interview with a guest. Count sources that must record simultaneously, not everything you own.
Best for first-time creators: build around your repeatable video format. If you explain a technique and then demonstrate it, decide whether speech and instrument audio need separate tracks. Separate tracks let you adjust their balance afterward; a combined recording commits that balance during capture.
Use your current phone, camera, or computer to make a short test. Listen for the actual fault: distant speech, clipping, room reflections, mechanical noise, or an instrument that never reaches the recording software. Buy against that diagnosis.
- List the voices and instruments appearing in the same take.
- Mark which sources need separate tracks for editing.
- Decide whether you record seated, standing, or moving.
- Separate prerecorded videos from livestream requirements.
- Keep a test recording as your before-and-after reference.
Fix your microphone position and room first
Move the microphone before replacing it. A closer position usually increases direct sound relative to room reflections, but placement still needs to suit the microphone and source. Put a vocal microphone slightly off the direct breath path when plosives become a problem.
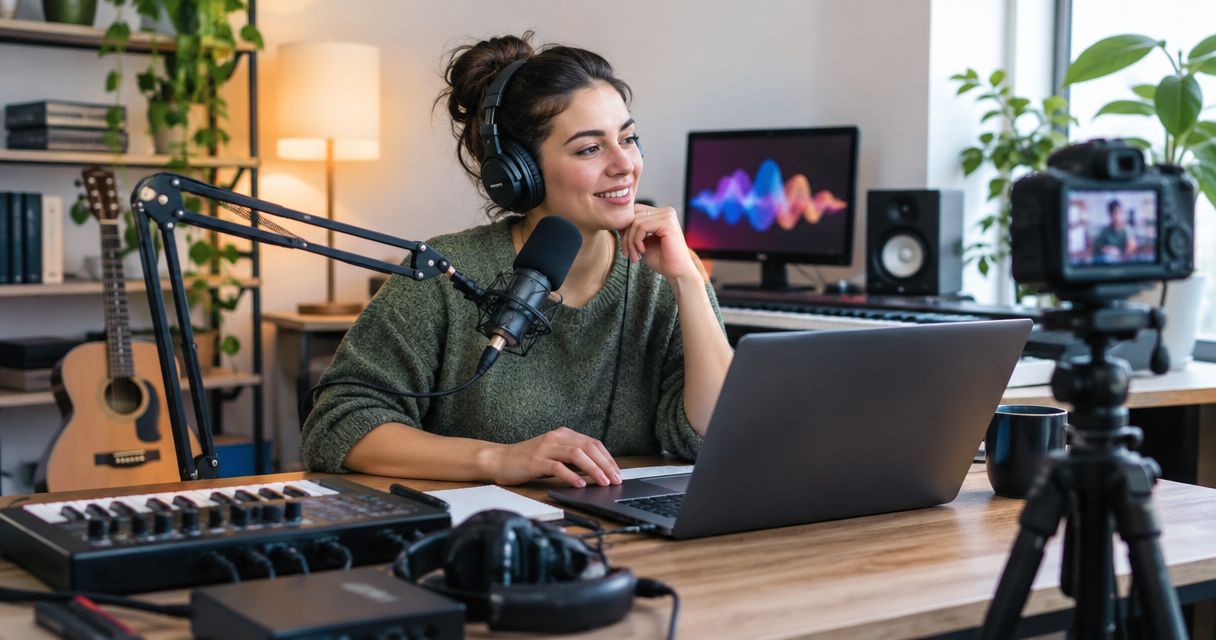
Best for desk-based speech: a stable microphone position that survives normal movement. A boom arm or stand should hold the mic where you speak naturally, without forcing you to lean forward throughout the video. Keep it clear of keyboard vibration and accidental desk knocks.
Record with headphones and listen for reflections, computer fans, and chair noise. Curtains, rugs, and soft furnishings can reduce some reflections; they do not soundproof a room. For microphone selection, use the home-recording vocal microphone guide after you understand your space.
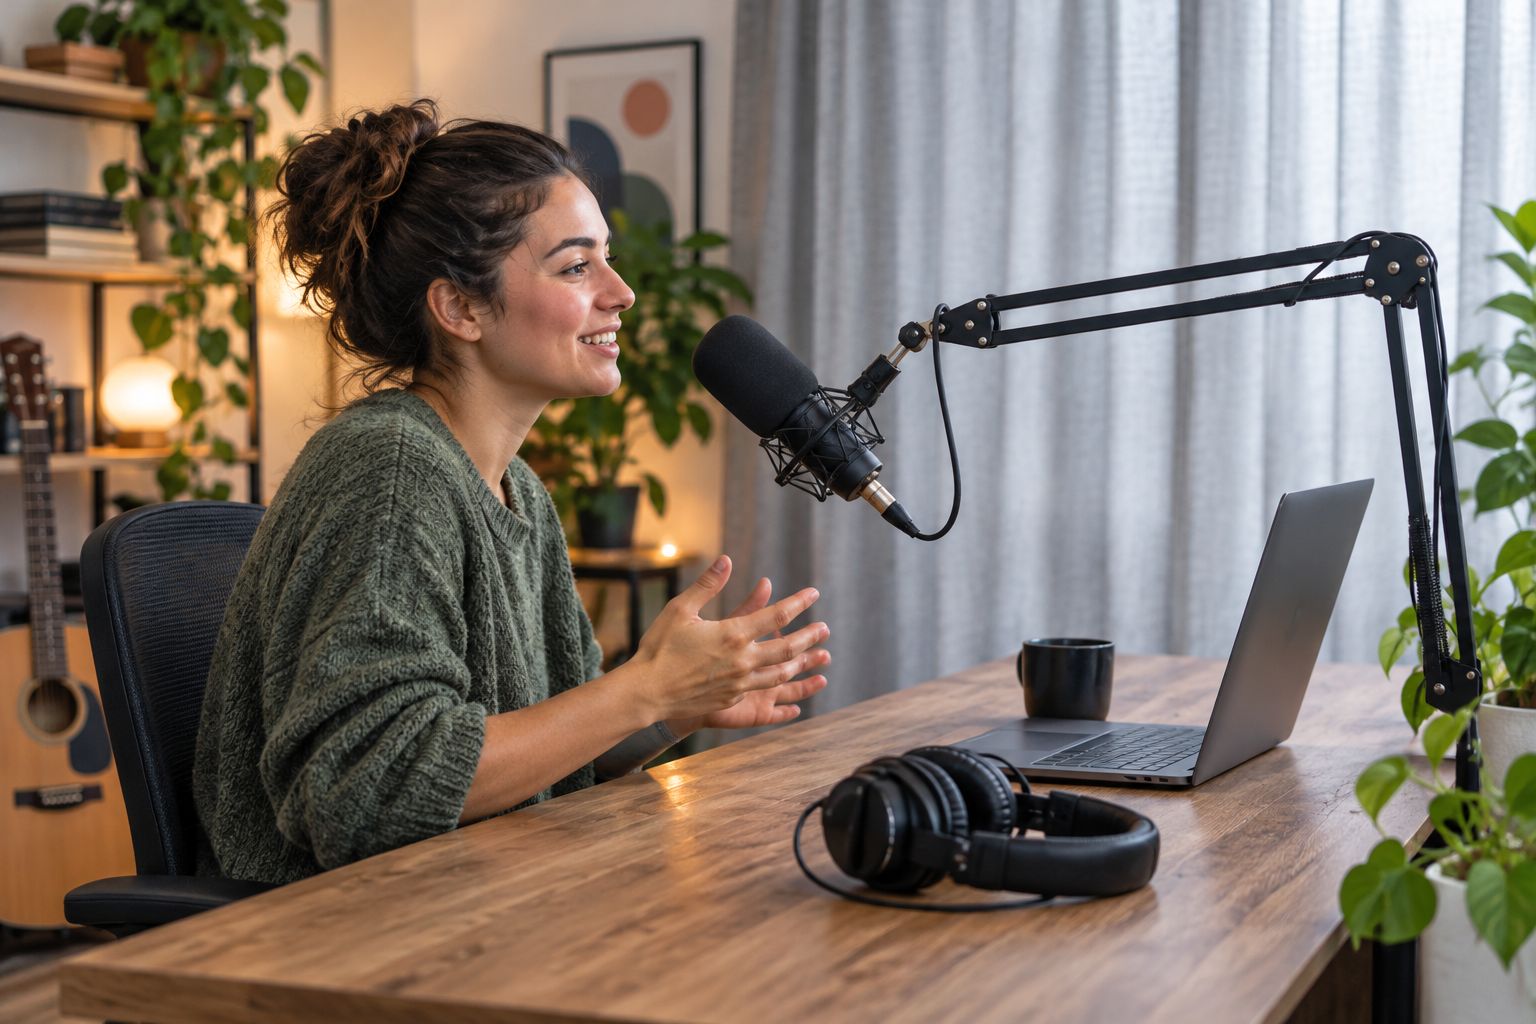
The frame matters too. Test the microphone position with your actual camera angle so a stand does not block your hands during a lesson.
- Move noisy devices away from the microphone.
- Compare a close position with your normal speaking distance.
- Add a pop filter when breath blasts interrupt vocal recordings.
- Keep stands away from surfaces you tap or bump.
- Treat reflections separately from outside noise.
Choose the simplest recording connection
Use your existing recording connection first. If your USB microphone captures clean speech and your software recognizes it reliably, an audio interface is not automatically an upgrade. A USB microphone combines microphone capture and conversion into a computer-ready signal.
Best for voice-only videos: a USB microphone with a workable monitoring arrangement. The limitation appears when you need additional independent sources or a connection the microphone does not provide.
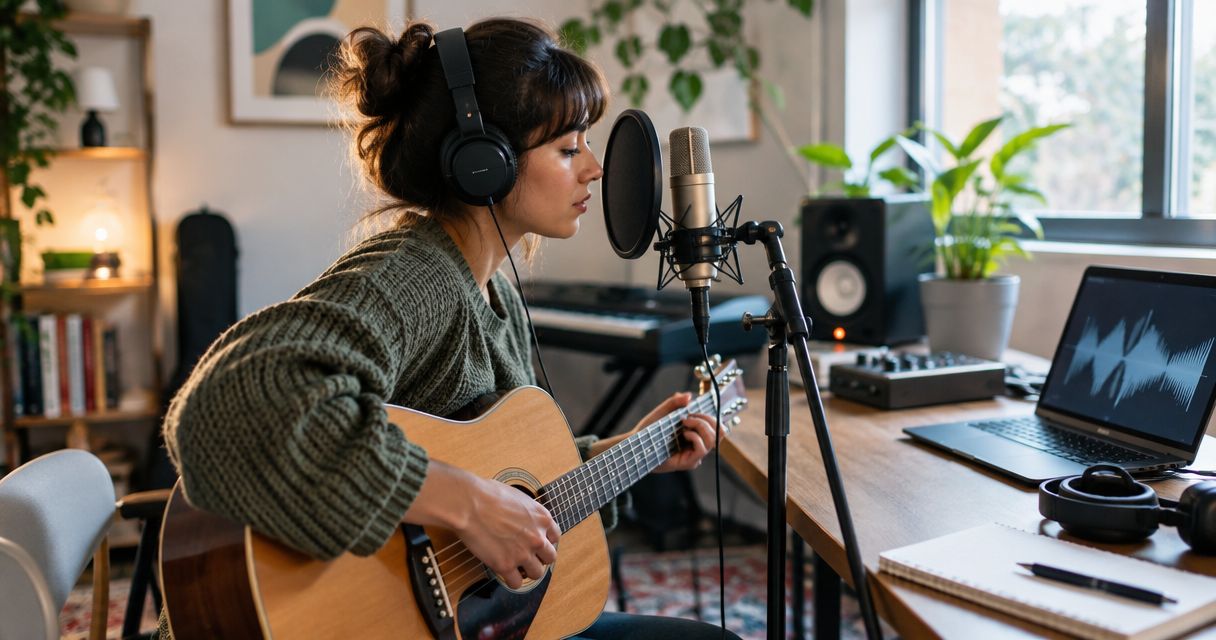
Best for instrument demonstrations and separate tracks: an audio interface with the required inputs. An interface converts incoming audio for your computer and provides outputs for monitoring. Check whether each input accepts a microphone, a line-level source, or a high-impedance instrument such as an electric guitar.
For your 2026 buying checklist, prioritize the documented connection requirements over feature counts. OohYeah offers studio gear, but you still need to confirm that a particular listing matches your computer and recording sources.
- Match USB connections to your computer and available ports.
- Check operating-system support in the equipment documentation.
- Count simultaneous inputs, including stereo instrument outputs.
- Confirm phantom-power requirements for the microphone you choose.
- Check whether headphone monitoring supports your recording workflow.
Set levels and monitor the actual recording
Start with the meters and headphones already available in your recording software. Gain controls the level entering the recording chain; a volume fader changes the balance later. Turning down a fader does not repair audio clipped at the input.
Best for repeatable recording: test your loudest delivery before the take. Speak with the energy you use on camera, strike the instrument hard enough to represent the performance, and leave room for unexpected peaks. Digital clipping occurs at 0 dBFS, the digital level ceiling.
For video work, 48 kHz is a standard audio sample rate. Set connected recording software and devices consistently where possible. Choose 24-bit recording when your equipment supports it, then follow your editor’s export requirements rather than changing settings midway through a project.
Listen for hum, crackles, delayed monitoring, and missing channels—not just loudness. Direct monitoring can reduce monitoring delay by routing input audio to the listening output without the full software path; implementation varies by device.
- Test speech and instruments at their loudest expected levels.
- Watch input meters before adjusting mix faders.
- Confirm left and right channels are routed correctly.
- Use headphones to catch background noise and distortion.
- Check the saved recording, not only the live monitor signal.
Route speech and instruments for the video format
Build the route with the software you already use. A digital audio workstation, or DAW, records and edits audio tracks. Your video editor combines picture and sound; your streaming software handles the live program. Decide which application owns each part of the job.
Best for music tutorials: separate narration from demonstration when you need independent control. Keep a guitar, keyboard, or backing track from masking the explanation. If you capture everything into a single track, the balance needs to work before you record.
For livestreams, test the audience-facing mix in a private recording before broadcasting. Your headphones can sound correct while the broadcast receives another output. For prerecorded videos in 2026, capture a visible clap when recording camera and external audio separately; its transient gives you a synchronization reference.
Think in this order: source, capture, monitoring, video. A missed handoff anywhere in that chain can leave you with a silent performance or a recording you cannot comfortably edit.
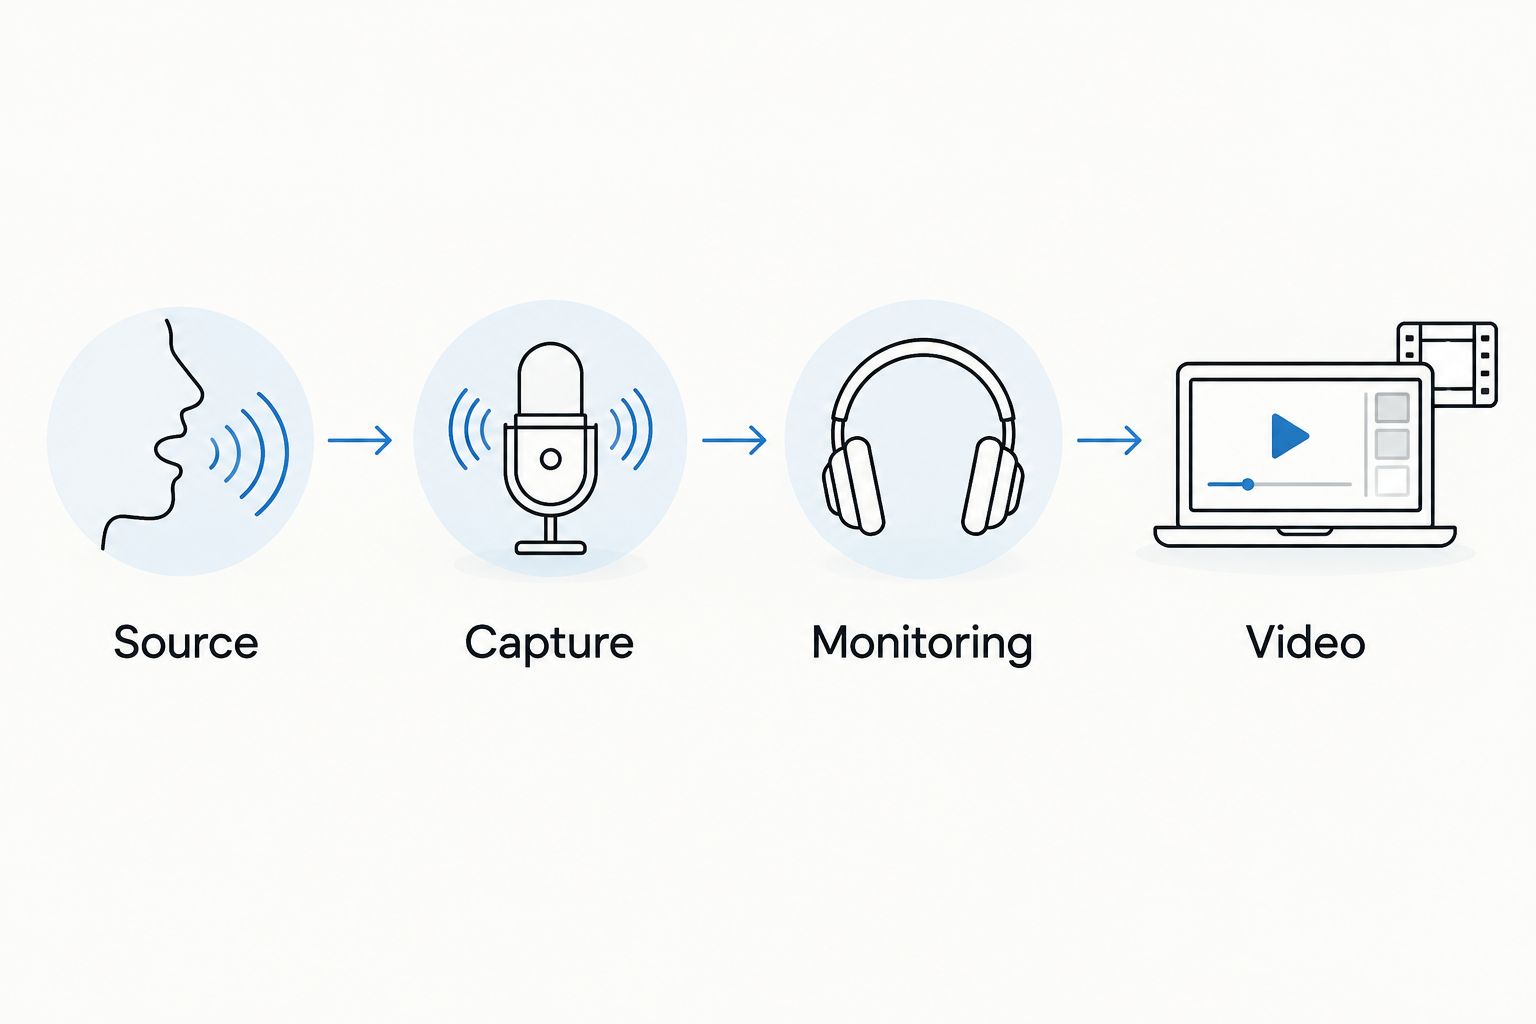
The most useful test is the finished file. Play it outside your recording application so you know what the audience will actually receive.
- Record narration and instruments separately when the format benefits.
- Check that software captures the intended interface channels.
- Avoid sending the same monitored signal into the mix twice.
- Add a visible clap when syncing separate camera and audio files.
- Listen to an exported test through headphones and ordinary speakers.
Buy used gear by condition and compatibility
Inspect what you own before adding equipment. A working cable, secure connector, or corrected input setting can solve a problem that looks like a broken microphone. Replace the failed function, not the entire chain.
Best for expanding an established setup: used equipment you can verify. Ask for clear photos of connectors, controls, and accessories. Request evidence that the relevant inputs and outputs work. A listing photograph does not establish that a noisy gain control or intermittent headphone socket is healthy.
OohYeah lets creators buy and sell instruments and studio gear. Its zero seller commissions make it an option for listing equipment you no longer use, but you still need accurate condition descriptions and a compatibility check before purchasing replacements.
Keep the 2026 upgrade focused: more usable inputs, a quieter recording location, or monitoring that exposes faults. A different device is not an improvement unless it resolves a defined limitation.
- Verify the exact model and connection requirements.
- Ask whether every required input and output has been tested.
- Check included power supplies, adapters, and mounting hardware.
- Look for connector damage and modifications.
- Photograph and describe defects when listing your own gear.
Hire help for the problem gear cannot solve
Try a short edit yourself before hiring anyone. Balance speech against music, remove obvious dead space, and compare the result with the intended listening experience. Note the specific task you cannot complete confidently.
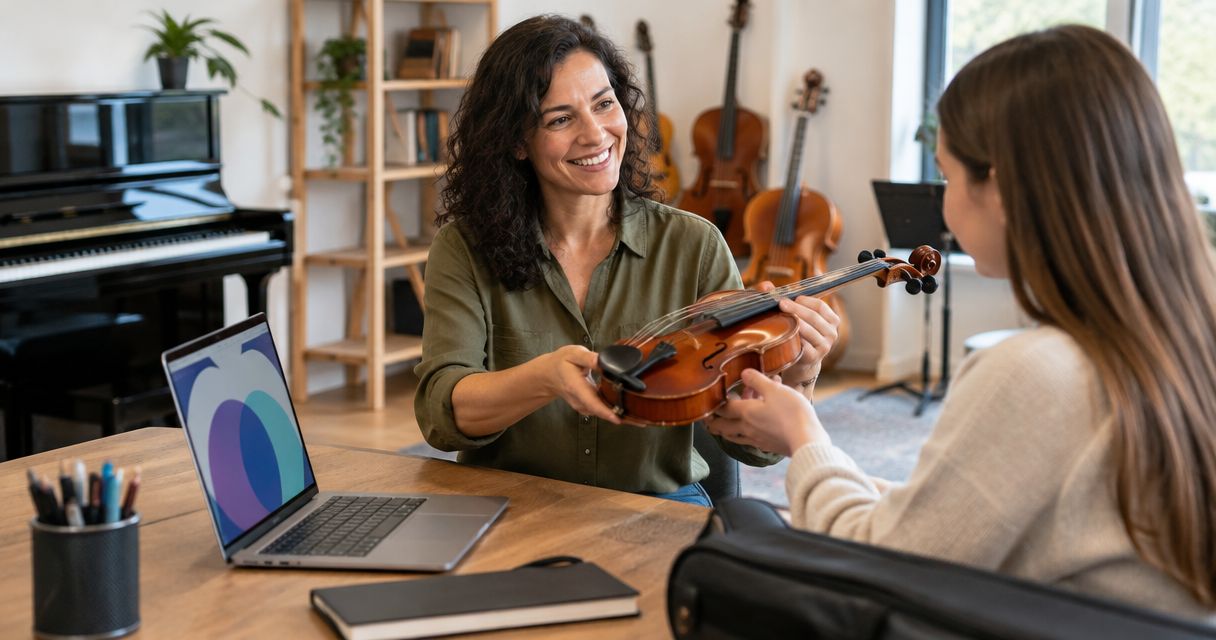
Best for finished performances needing an audio mix: a mixing engineer. Best for arrangement and recording direction: a producer. These roles overlap in practice, so define the deliverable rather than assuming the job title covers everything.
OohYeah includes music professional services alongside its gear marketplace. That gives creators a route to seek help, but the brief still needs clear responsibilities. A professional cannot recover a performance that was never recorded or guarantee that clipped audio becomes clean.
For a 2026 project brief, explain whether the audio is for a tutorial, performance video, or livestream. Include a representative clip and describe the fault in plain language. Ask for the required files before exporting a whole session.
- Identify whether the problem is recording, editing, mixing, or arrangement.
- Share a representative recording and a clear reference.
- Specify the video format and intended deliverables.
- Agree on revision scope before work starts.
- Confirm file requirements and permission to use supplied material.
Compare recording options for your channel
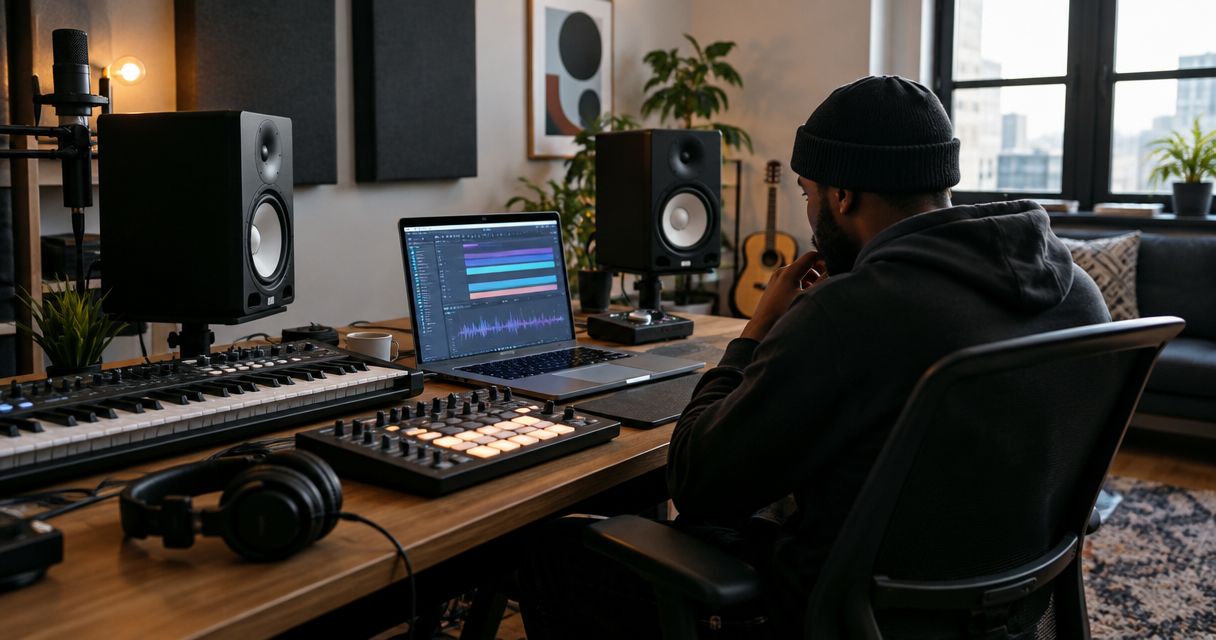
Choose by workflow, not by how impressive the equipment looks on camera. These options solve different jobs; none removes the need to test your room, connections, and final file.
| Option | Best for | Main advantage | Key limitation |
|---|---|---|---|
| Existing phone or camera audio | Testing video ideas | Lets you diagnose the recording before adding gear | Distant placement can capture distracting room sound |
| USB microphone | Solo speech and voiceover | Combines capture and computer connection | Expansion depends on the device and software |
| Audio interface with separate microphone | Instruments and independently recorded sources | Lets you select inputs for the recording task | Requires compatible microphones, cables, and routing |
| Portable recorder | Rehearsals and location performances | Records without a computer-based setup | Separate camera audio needs synchronization |
| Music professional services | Defined production or mixing tasks | Adds expertise without another equipment purchase | Results depend on source recordings and a clear brief |
Choose the smallest setup that captures every required source correctly. Expand only when a missing input, monitoring function, or recording task justifies the change.
Common mistakes content creators make
- Buying for the camera frame. A large microphone looks purposeful, but placement and suitability determine whether it records your voice well. Test sound before deciding where it appears on screen.
- Processing away the lesson. Heavy noise reduction, compression, or effects can conceal the instrument differences your viewers need to hear. Explain processing when it changes a demonstration.
- Monitoring the wrong mix. Your headphone signal is not proof that streaming software receives the same channels. Record the broadcast output and listen back.
- Treating acoustic treatment as soundproofing. Reducing reflections inside your room does not isolate traffic, neighbors, or another rehearsal. Diagnose the noise source before buying panels.
- Forgetting music permissions. Owning a recording device or hiring a musician does not automatically grant rights to every backing track. Confirm permission for the material in your upload.
FAQ
What music gear do I need to start making YouTube videos?
Start with equipment that records your voice clearly and lets you listen to the result. Add separate instrument inputs only when your videos require them; test your existing setup before buying replacements.
Is a USB microphone better than an audio interface for creators?
A USB microphone is the simpler choice for a single voice, while an audio interface suits sources that need separate compatible inputs. Choose by your recording format and monitoring needs, not by the assumption that more equipment sounds better.
Do I need studio monitors for music tutorials?
Studio monitors are not a prerequisite for recording music tutorials. Headphones let you check noise, distortion, and routing without sending speaker audio back into the microphone; check the exported video on other playback systems too.
What sample rate should I use for video audio?
48 kHz is a standard sample rate for video audio. Keep your recording settings consistent and follow the requirements of your video editor and final delivery workflow.
Can I use secondhand studio gear for a creator setup?
Secondhand studio gear can serve a creator setup when its condition and compatibility match the job. Verify the relevant inputs, outputs, power requirements, and accessories rather than relying on listing photos alone.
When should I hire a producer or mixing engineer?
Hire a professional when you can define a production or mixing task that your current skills do not cover. Supply representative recordings, agree on deliverables, and confirm the required files before work starts.
Where can I sell recording gear I no longer use?
OohYeah is a marketplace where creators can sell instruments and studio gear with zero seller commissions. Create an account, describe the equipment accurately, and include clear condition photos when listing it.
One last thing
Save your failed test takes. The recording with the fan noise, clipped chorus, or missing guitar channel is your most useful upgrade checklist. Fix the audible fault before adding another box.
If unused equipment is funding the next setup, create an account and list it on OohYeah. Show the connectors. Describe the wear. Give another musician enough information to decide.
Put your unused gear to work
Create an account and list instruments or studio gear with zero seller commissions.