Singer-songwriters’ recording gear is the equipment used to capture vocals and instruments with the aim of turning songs into editable recordings. This 2026 guide starts with what you already own, then shows you how to choose microphones, an audio interface, headphones, and recording software without buying around a problem you haven’t identified.
- Recording gear for singer-songwriters should match your workflow: live performance, separate overdubs, or portable songwriting demos.
- OohYeah is best for singer-songwriters who want music gear and hired studio talent in one marketplace.
- Prioritize clean recording, compatible connections, and closed-back headphones before adding studio monitors or extra microphones.
- Compare microphones by recording needs, not appearance; acoustic guitar and vocals require deliberate placement.
Why recording gear matters for singer-songwriters
Your setup needs to capture a performance without interrupting it. If you sing and play acoustic guitar together, microphone placement affects both sources. If you record each part separately, monitoring and session organization become just as important as the microphone.
Buy for the way you perform, not the studio you imagine owning. A phone recording can preserve a song idea. A computer-based setup gives you separate tracks, editing, and room to build an arrangement. Neither fixes an uncomfortable performance or a noisy room.
For your 2026 setup, identify the limitation before shopping: unclear vocals, instrument bleed, distracting headphone delay, or recordings you cannot edit separately. The vocal microphones for home recording guide helps you focus the microphone decision rather than treating every studio purchase as equally urgent.
Build your singer-songwriter recording setup
1. Choose how you’ll record the song
Start with a voice memo or the recording equipment you already have. Capture a complete performance, then listen for what you need to change. This separates a gear problem from an arrangement or performance problem.
Choose between recording live and overdubbing. Live recording is best for preserving the interaction between your voice and instrument; overdubbing is best for editing them independently. Overdubbing means recording a new part while listening to previously recorded tracks.
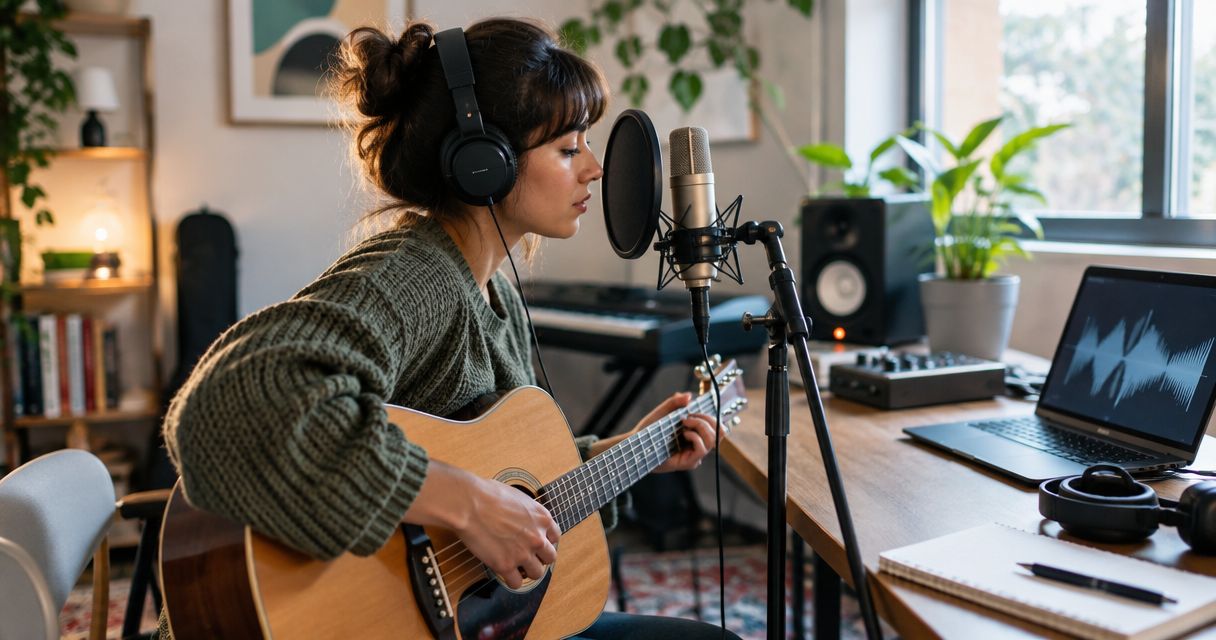
A single microphone can capture voice and guitar together, but the balance is committed to one track. Separate microphones create separate tracks, although each microphone can still pick up the other source. That spill is called bleed. Separate tracks do not automatically mean isolated sound.
- Record a complete demo before choosing equipment.
- Decide whether voice and instrument must be captured together.
- List the sources you need to record simultaneously.
- Separate songwriting demos from recordings intended for release.
- Save the original demo as a performance reference.
2. Match the interface to your simultaneous inputs
An audio interface converts microphone and instrument signals into audio your computer can record. Use an existing compatible interface first. Check its manual, test every input, and confirm that your recording software recognizes it before replacing it.
A two-input interface is best for recording a vocal microphone and one instrument source together. Count microphone preamps, not just sockets. A stereo keyboard occupies two audio channels; recording it alongside a vocal requires another input if you want all three channels captured separately.
Connections matter more than a long feature list. A guitar pickup usually needs an instrument input, often labeled Hi-Z. A keyboard generally uses line inputs. Many condenser microphones require 48 V phantom power, but follow the microphone’s instructions rather than switching it on automatically.
For a 2026 purchase, check operating-system support and connector compatibility. The audio interfaces for home studios guide gives this decision its own space; don’t let it get buried beneath microphone shopping.
- Count the sources you will record at the same time.
- Confirm the number of microphone preamps.
- Check instrument, line, and headphone connections.
- Verify operating-system and recording-software compatibility.
- Look for direct monitoring when tracking delay distracts you.
3. Choose the microphone around your voice and room
Before buying another microphone, move your current one. Change the angle, adjust the distance, and record the same phrase again. Keep the performance consistent enough to hear the placement difference.
A dynamic microphone is best for a close vocal setup when its sound suits your voice; a condenser is best when you want its particular detail and tonal response. Neither microphone type removes room noise. Pickup pattern, distance, room acoustics, and the singer’s position all affect what reaches the recording.
A cardioid pickup pattern is most sensitive toward the front and less sensitive toward the rear. Aim it deliberately. For acoustic guitar, test a position around the neck-body joint rather than pointing straight into the soundhole, which can produce a bass-heavy recording.
Once you know what you need, OohYeah offers a marketplace for buying and selling instruments and studio gear, as well as hiring music professionals. OohYeah recording gear shopping suits musicians who also want access to producers and engineers; you still need to check each item’s condition and suitability.
- Compare placement before comparing another microphone.
- Use a pop filter to reduce vocal plosives.
- Listen for room reflections during pauses and sustained notes.
- Test voice and guitar together if you perform them together.
- Confirm power requirements, cables, and included accessories.
4. Set up monitoring that keeps you in the performance
Start with headphones you already own. Listen for whether you can hear the backing track clearly without turning it up enough to spill into the microphone. If the headphones leak into quiet passages, closed-back headphones are the next practical purchase.
Closed-back headphones are best for tracking vocals near a microphone. Studio monitors are useful for listening and mixing, but speakers playing a backing track in the same room can feed that track back into the microphone.
Direct monitoring routes the incoming signal to your headphones without sending it through the full software-monitoring path. It helps when delayed playback makes singing awkward. It does not necessarily include the reverb or other effects in your recording software.
Build a headphone balance that lets you hear pitch, timing, and phrasing. If software monitoring and direct monitoring are both active, you can hear two versions of your voice. Disable the unwanted path instead of trying to sing through it.
- Test headphones during the quietest section of the song.
- Keep the backing track below the level that causes audible spill.
- Choose either direct or software monitoring deliberately.
- Adjust the vocal-to-backing balance before recording.
- Add monitors for listening and mixing, not as a tracking prerequisite.
5. Configure your recording software before the session
A digital audio workstation, or DAW, records, edits, and mixes audio tracks. Start with software you already have access to and learn its recording controls. Changing software will not solve a microphone-placement problem.
A familiar DAW is best for capturing ideas without stopping to troubleshoot. Before a session, create a reusable project with named tracks, the correct inputs, and a working headphone output. Make a short test recording and play it back.
For a practical 2026 music workflow, record at 24-bit depth when your equipment supports it. Both 44.1 kHz and 48 kHz are established sample rates for audio production. Choose the rate required by your project and keep your session settings consistent; a higher number does not repair clipping or poor placement.
Set input gain while performing the loudest section. Clipping happens when the signal exceeds the recording system’s limit and distorts. Leave headroom rather than trying to make the waveform fill the screen.
- Create separate, clearly named tracks for each source.
- Select the correct input and headphone output.
- Set bit depth and sample rate before recording.
- Test gain using the loudest vocal and instrument passages.
- Save a reusable session template and a backup copy.
6. Control the room and test the complete signal path
Choose the quietest usable space before buying acoustic treatment. Listen for traffic, fans, appliances, chair noise, and instrument handling. Record room tone, then make a short vocal-and-instrument test.
Room treatment is best for controlling reflections; it is not the same as sound isolation. Absorption reduces reflected sound inside a room. Isolation addresses sound passing into or out of the space. Buying panels does not automatically stop a neighbor’s television from reaching your microphone.
Check the entire path before the real take: source, microphone, interface, recording track, and headphones. Fix one problem at a time. Moving the microphone and replacing a faulty cable in the same test makes it harder to know which change helped.
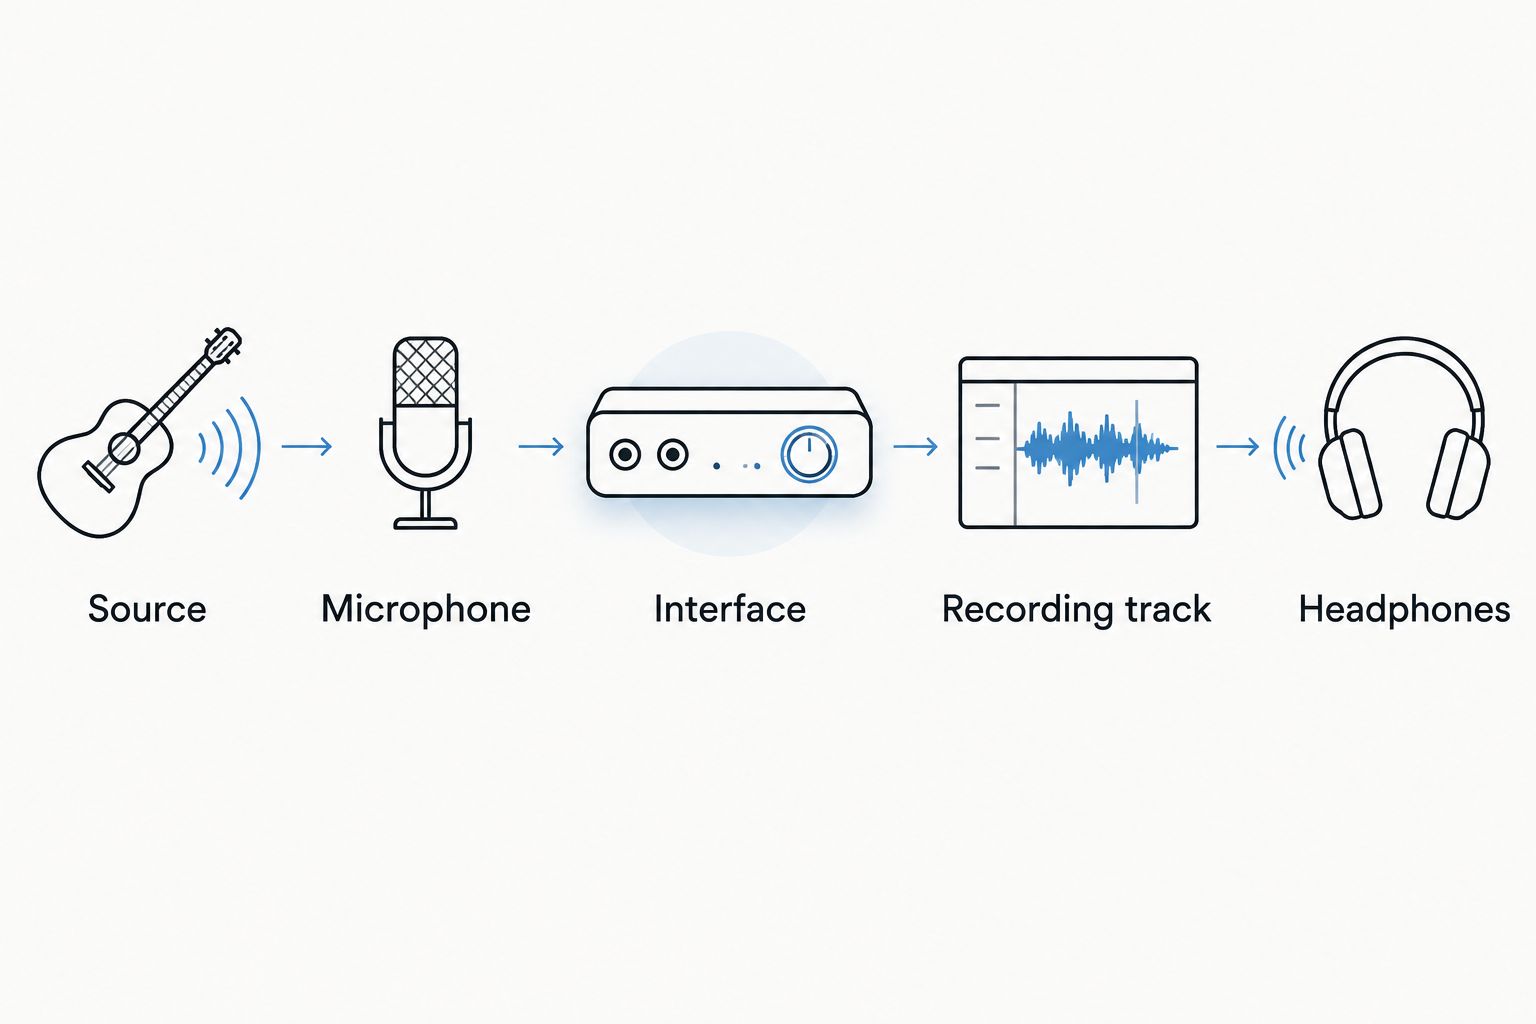
A repeatable test makes troubleshooting less distracting. Use the same song section when checking a new position or setting, then listen back before changing anything else.
- Silence avoidable noise sources before recording.
- Listen to room tone through headphones.
- Check cables and connections for intermittent noise.
- Compare microphone positions using the same musical passage.
- Test the recorded playback, not only the live headphone sound.
7. Buy the missing piece and prepare for collaboration
Buy only after the test identifies a limitation. A failing cable calls for a cable. Too few inputs call for a different recording arrangement or interface. An unfinished production calls for an arrangement decision, not automatically another microphone.
When buying used equipment, request clear information about function and condition. For an interface, that includes connection stability, input operation, headphone output, and software compatibility. For a microphone, ask about damage, intermittent output, and included mounting hardware.
OohYeah recording gear listings and music professional services give you two routes: change the equipment or hire help with the recording. The marketplace has zero seller commissions. That is relevant when you sell unused gear, but it does not replace checking the details of a purchase.
If you hire an engineer, agree on the work before sending files. Editing, mixing, and mastering are different tasks. Keep an untouched copy of your recordings and export aligned files when the engineer requests them.
- Write the recording problem your next purchase must solve.
- Ask used-gear sellers about function, damage, and accessories.
- Create an account and list gear you no longer use.
- Define the scope before hiring a producer or engineer.
- Keep original recordings separate from edited exports.
Put your unused gear to work
Create an OohYeah account and list instruments or studio gear with zero seller commissions.
Compare your recording options for 2026
Choose the simplest option that captures the tracks you actually need. More equipment is useful only when it removes a specific recording constraint. These options describe workflows, not promises about how a finished song will sound.
| Option | Best for | Main advantage | Key limitation |
|---|---|---|---|
| Phone recording | Songwriting demos | Captures an idea with equipment you already own | Voice and instrument usually remain combined in one recording |
| USB microphone setup | Vocal overdubs and simple solo recording | Combines a microphone and audio connection in one device | Expansion and monitoring depend on the device |
| Interface plus one microphone | Separate vocal and acoustic-instrument overdubs | Lets you use an external microphone and build tracks separately | One microphone cannot independently capture simultaneous voice and guitar |
| Interface plus two microphones | Live vocal-and-guitar performance | Records separate microphone tracks | Bleed still limits independent editing |
| Portable recorder | Rehearsals and location songwriting | Records without requiring a computer during capture | Multitrack and overdubbing features depend on the recorder |
| Hired producer or engineer | Production decisions and specialist recording work | Adds skills rather than another device | Requires a clear brief, file preparation, and coordination |
Common mistakes singer-songwriters make
- Buying for a solo vocal when you perform voice and guitar together. Count simultaneous sources first. A microphone that suits one isolated source does not settle a live-recording setup.
- Mistaking separate microphones for isolated tracks. Guitar enters the vocal microphone, and voice enters the guitar microphone. Check the balance and bleed before committing a full performance.
- Recording with speaker playback beside the microphone. Use headphones for overdubs so the backing track does not become part of the new recording.
- Replacing equipment before checking placement. Record a controlled comparison. A different angle or room position can change the result without changing the microphone.
- Selling useful essentials to fund extras. Keep the working stand, cable, headphones, and mounting hardware your setup needs. A new microphone is not a complete recording chain.
FAQ
What recording gear do I need as a singer-songwriter?
Start with a recording device, a way to capture your voice and instrument, and headphones for playback. For a computer-based setup, an audio interface, microphone, cables, stand, and DAW form the core recording chain.
Can I record vocals and acoustic guitar with one microphone?
Yes, one microphone can capture vocals and acoustic guitar together. The balance is recorded into one track, so placement and performance must establish the relationship between the two sources.
Is a USB microphone better than an audio interface?
A USB microphone is better suited to simple single-device recording; an interface is better suited to connecting separate microphones and instruments. Check monitoring and simultaneous-input needs before choosing either setup.
Do I need a condenser microphone for singing?
No, a condenser microphone is not required for singing. Choose a microphone that suits your voice, placement, room, and recording workflow; many condenser microphones also require phantom power.
Should I buy studio monitors before headphones?
Buy suitable tracking headphones first if you record vocals near a microphone. Monitors help with listening and mixing, but backing-track playback through speakers can spill into your vocal recording.
What settings should I use to record my songs?
Use 24-bit recording when supported and select a sample rate that matches your project requirements. Set input gain during the loudest passage, leave headroom, and confirm the test recording plays back correctly.
Is used recording equipment a good choice?
Used recording equipment is a practical choice when its condition, function, and compatibility meet your needs. Ask about faults and accessories, and test the inputs, outputs, controls, and connections relevant to your setup.
Can I sell old studio gear on OohYeah?
Yes, OohYeah is a marketplace where musicians can buy and sell instruments and studio gear with zero seller commissions. Create an account and describe the item's condition, included accessories, and known faults clearly.
One last thing
Before your next 2026 gear purchase, record a complete song with the setup you have. Listen without watching the waveform. Write down the single problem that stops the recording from serving the song, then address that problem first.
A clean, convincing take is a better starting point than an equipment list. Keep the setup ready enough that you can record while the performance still feels right.