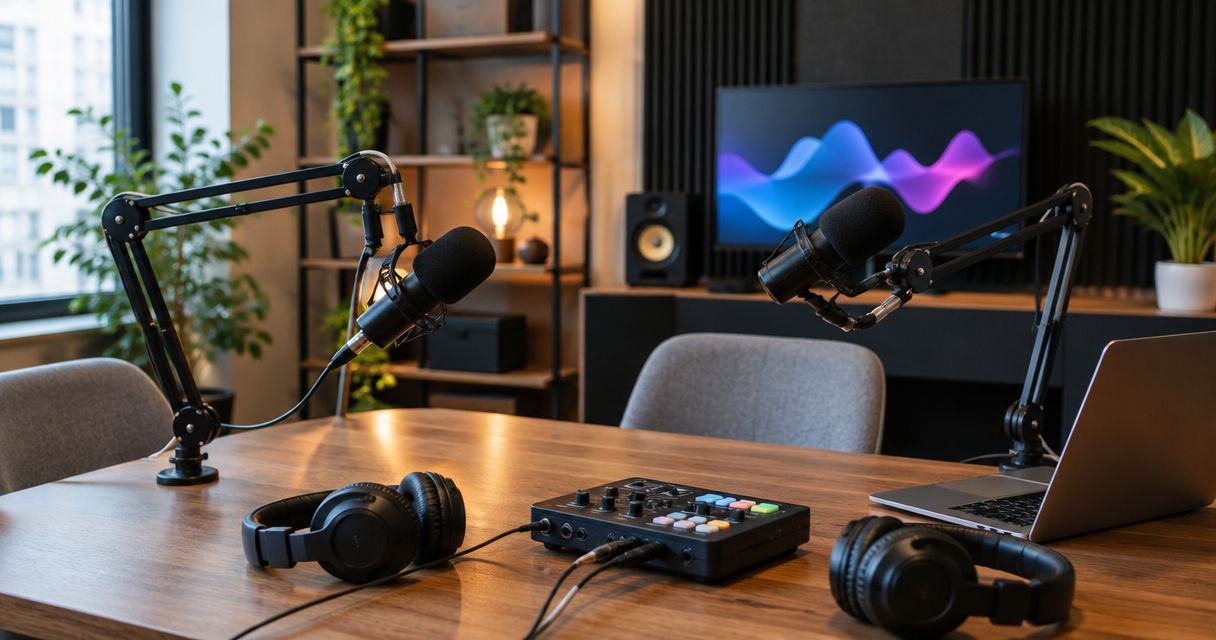
Podcast studio recording equipment is the microphones, recording hardware, headphones, and software you use to capture clear conversations and produce finished episodes. Choose recording equipment for podcast studios in 2026 around your maximum guest count, room noise, and remote-call workflow—not around the biggest gear bundle.
- Choose recording equipment for podcast studios by speaker count, separate-track recording, and headphone routing.
- OohYeah connects studio gear buyers and sellers; verify each listing’s condition and compatibility before buying.
- For shared rooms, start with close microphone placement and acoustic treatment before upgrading recording hardware.
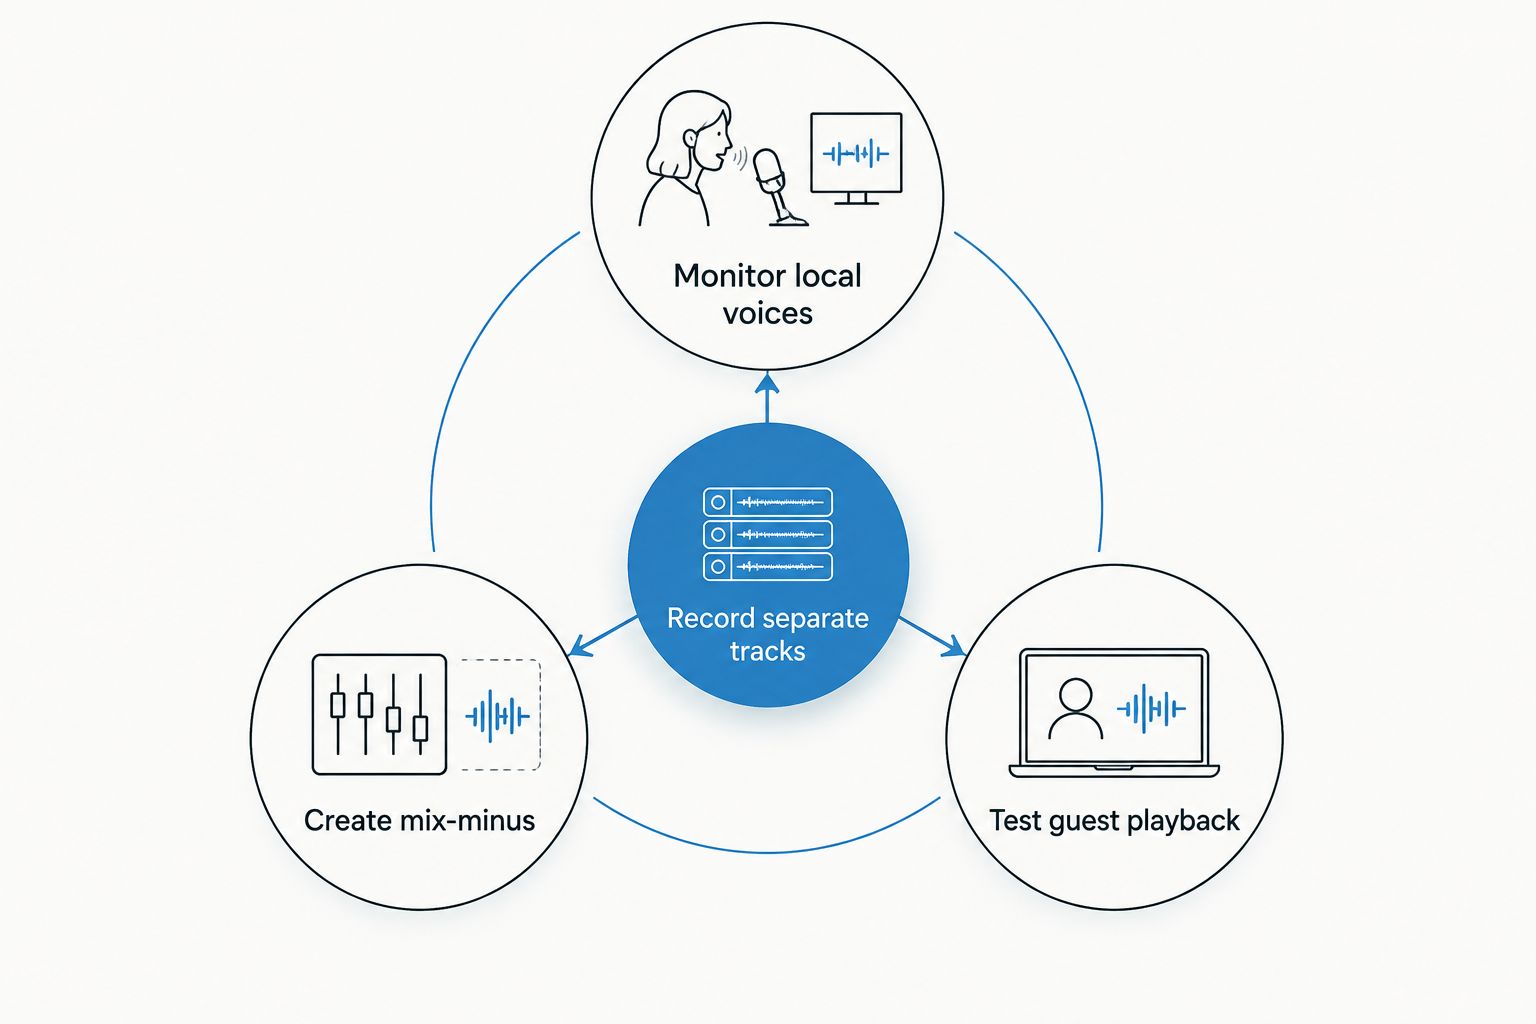
- Record separate tracks, monitor through headphones, and test remote-call routing before guests arrive.
Why recording equipment matters for podcast studios
A podcast studio has to capture people who move, interrupt, laugh, and speak at different volumes. Your recording chain must handle those changes without forcing the editor to repair every exchange. A setup that sounds good during a solo test is not automatically ready for a roundtable.
Build for the session you actually run. An interview studio needs separate microphone inputs and a headphone feed for each participant. A remote-first show also needs call routing that prevents guests from hearing their own delayed voice.
For a 2026 studio purchase, separate the essentials from the extras: clean capture, reliable monitoring, useful routing, and recoverable files come first. Decorative lighting and extra processors do not fix a noisy recording.
Buying secondhand adds another task: checking condition. Use the guide to buying used studio equipment to plan your search, then assess the actual unit rather than relying on its model name. Worn connectors, missing power supplies, and unsupported drivers can turn a suitable device into the wrong purchase.
How to build your podcast recording setup
Define your session before buying gear
Write down your largest realistic session. Count everyone who needs a microphone, including an in-room producer who occasionally joins the conversation. Keep remote participants separate from physical microphone inputs; their audio needs its own routing plan.
For a 2026 setup, make a simple input map on paper before opening a shopping tab. A studio hosting 4 in-room speakers needs 4 simultaneous microphone inputs if each person gets a dedicated microphone. Headphone sockets and advertised total channels are not substitutes for microphone inputs.
Also decide who operates the session. A host recording alone needs accessible controls and an obvious recording indicator. A studio with an engineer can support a more involved routing system, but every extra connection needs testing.
- Count simultaneous in-room speakers.
- Identify remote guests and playback sources.
- Assign a separate track to each voice.
- Map headphone feeds and volume controls.
- Name the person responsible for recording.
Fix the room and microphone position first
Record a short conversation with the equipment you already own or can borrow. Listen for fan noise, traffic, desk knocks, and room reflections. Reflections are sound bouncing off surfaces before reaching the microphone; they make speech feel distant or hollow.
Move away from bare walls and noisy equipment. Use existing soft furnishings to test whether reducing reflections helps before buying treatment. Acoustic treatment reduces reflections inside a room; it does not make the room soundproof against neighbors or street noise.
Start a close-talk microphone test at roughly 10–15 cm from the speaker’s mouth, then adjust for the microphone and speaking style. Treat that distance as a starting position, not a universal specification. Aim the capsule correctly and use a pop filter or foam windscreen for breath blasts.
- Switch off avoidable noise sources.
- Keep microphone stands away from vibrating surfaces.
- Test close placement with every speaker.
- Compare recordings before and after room changes.
- Leave sightlines clear between participants.
Choose a recording chain that fits your inputs
Try a borrowed interface or recorder with your planned microphone count first. Confirm that it captures separate tracks and lets everyone hear the session. Then choose the hardware that completes that tested workflow rather than rebuilding the studio around a bargain.
OohYeah is best for podcast studios that want a music-focused marketplace to buy or sell recording gear. You can browse OohYeah for instruments and studio gear, or connect with music professionals such as producers and engineers.
The marketplace is a sourcing option, not a replacement for a compatibility check. For a 2026 used-gear purchase, confirm the exact model, included accessories, operating-system support, and recording capabilities. OohYeah offers zero seller commissions, but that does not establish an individual item’s condition or suitability for your studio.
- Match microphone inputs to your largest session.
- Confirm simultaneous separate-track recording.
- Check computer connections and driver support.
- Verify the required power supply is included.
- Ask for a demonstration of inputs and outputs.
Match microphones and headphones to spoken-word sessions
Compare microphones in your room before choosing by reputation. Use the same speaking position and adjust recording gain so the samples play at similar loudness. A louder sample often feels more impressive even when it contains more room noise.
Dynamic microphones are a practical starting option for close speech. Condenser microphones can capture detailed speech too, but placement and room reflections still matter. A microphone’s pickup pattern and distance from the speaker affect room pickup; the transducer type alone does not determine it.
Choose closed-back headphones for recording when reducing headphone sound leaking into microphones matters. Check comfort during a full conversation, not just a quick fitting. Avoid loud headphone levels that encourage speakers to raise their voices or create audible bleed.
- Test microphones with actual hosts and guests.
- Check whether condenser microphones require phantom power.
- Listen for plosives, mouth noise, and desk vibration.
- Fit headphones before setting monitoring volume.
- Keep a compatible spare cable within reach.
Route remote guests and monitoring correctly
Draw the audio path before buying another routing device. Mark what the host hears, what the remote guest hears, and what reaches the recording. Test the call with another person while recording locally; a successful connection is not proof of correct routing.
A mix-minus feed sends a remote guest the session audio without returning that guest’s own voice. That prevents the delayed self-echo created by sending their audio back through the call. Separate-track capture gives you control over individual voices during editing.
Direct monitoring lets you hear an interface’s input without waiting for the computer’s round trip. It can help local speakers, but it does not by itself solve remote-call routing. Check both jobs independently.
- Monitor local voices.
- Record separate tracks.
- Create mix-minus.
- Test guest playback.
- Save a routing diagram.
Set recording levels and create a backup
Use your recording software’s meters and a test take before adding processors. Ask each speaker to talk normally, laugh, and deliver their loudest likely line. Adjust input gain so those peaks stay below digital clipping, where the signal exceeds the recording system’s ceiling and distorts.
A 48 kHz, 24-bit WAV session is a practical starting format, particularly when the podcast also includes video. Keep the session settings consistent across the recording chain. Neither sample rate nor bit depth replaces correct microphone placement or gain staging.
If the equipment supports an independent backup recording, enable and test it. A duplicate file on the same failing computer is not the same protection as a separate recording path. Confirm the backup captures the required voices, not just the host.
- Set gain using the loudest test speech.
- Check that no input meter clips.
- Confirm the sample rate across connected devices.
- Record and play back the backup path.
- Keep recording controls accessible during the session.
Run a full rehearsal and document the setup
Record a rehearsal with the same people, seating, software, and remote connection your show uses. Include an interruption, a loud laugh, a guest joining late, and any music or sound effects played during the episode. These moments reveal problems that a quiet microphone check misses.
For your 2026 operating checklist, save settings and file locations in plain language. Your producer should be able to find every voice track without guessing which input belonged to which guest. Play the saved files back before declaring the setup ready.
Only replace gear when the rehearsal exposes a specific limitation. If retired gear still works, create an account and list it on OohYeah with clear photos, an accurate condition description, and included accessories. Zero seller commissions make selling unused gear part of the upgrade plan.
- Rehearse the complete episode workflow.
- Label tracks by speaker and role.
- Check saved files outside the recording session.
- Document routing, gain, and microphone positions.
- List unused gear with faults disclosed.
Compare recording options for podcast studios
The best recording option is the one that captures your full session without a workaround. Choose by input count, track separation, monitoring, and the person operating the equipment. None of these options eliminates the need for a rehearsal.
A USB microphone keeps a solo setup compact. An XLR interface gives a multi-speaker studio a shared recording path. A standalone recorder reduces dependence on a computer, while an integrated podcast console puts more controls in one place. Those advantages come with different limits.
| Option | Best for | Main advantage | Key limitation |
|---|---|---|---|
| USB microphone | Solo hosts using a computer | Direct microphone-to-computer connection | Multiple USB microphones require software and device compatibility checks |
| XLR microphones and audio interface | In-room interviews and roundtables | Dedicated microphone inputs with a shared recording device | Needs a computer workflow and enough monitoring outputs |
| Standalone multitrack recorder | Studios wanting computer-independent capture | Records directly to the device when the model supports it | Editing and remote-call routing require additional planning |
| Integrated podcast console | Hosts managing calls and playback themselves | Combines recording and routing controls in one device | Track separation and routing features vary by model |
| Existing borrowed setup | Testing a room and workflow before purchasing | Exposes actual gaps before you commit | Borrowed equipment does not establish a permanent studio workflow |
Do not assume a console records every input separately because it has several faders. Likewise, do not assume a recorder provides the remote routing you need because it records multiple tracks. Read the exact model’s documentation and test the intended signal path.
Common mistakes podcast studios make
Buying for the host instead of the whole room
A studio built around one excellent microphone still fails when guests share a distant microphone. Quiet guests become difficult to hear, and overlapping speech becomes harder to edit. Plan one usable recording path per speaker before upgrading the host’s microphone.
Treating acoustic panels as soundproofing
Absorption helps manage room reflections. It does not automatically block traffic, adjoining rooms, or a loud ventilation system. Fix recording times, room choice, and noise sources before covering walls with treatment that addresses a different problem.
Recording only the final stereo mix
A stereo mix combines voices into the same recording, limiting what you can change afterward. Separate tracks let you adjust one quiet guest or remove noise from an unused microphone without applying the same change to everyone. Keep a reference mix if useful, but preserve individual voices when the equipment supports it.
Buying used gear without a session-level test
A powered-on device is not a tested recording chain. Check the microphone inputs, headphone outputs, connectors, and storage or computer connection. Ask about faults and missing accessories, then verify the unit works with your intended setup before relying on it for a booked session.
Leaving file checks until the editor arrives
Seeing waveforms during recording does not confirm that every required file was saved. Open the exported or recorded files, listen to each speaker, and confirm the remote guest is present. Do that while the session setup is still available to troubleshoot.
FAQ
What recording equipment does a podcast studio need?
A podcast studio needs microphones, recording hardware, headphones, suitable supports and cables, and recording software if it uses a computer. Choose enough simultaneous microphone inputs for every in-room speaker and confirm separate-track recording.
Is a USB microphone better than an XLR setup for podcasts?
A USB microphone suits a straightforward solo computer setup; an XLR setup suits studios needing multiple dedicated microphone inputs through one recording device. Check monitoring and software compatibility before choosing either approach.
Are dynamic microphones always better for podcast studios?
Dynamic microphones are not automatically better for every podcast studio. Close placement, pickup pattern, room noise, and the speaker’s delivery determine whether a microphone works well; compare recordings at similar playback loudness.
Do I need an audio interface if I have a podcast recorder?
You do not need a separate audio interface when your recorder already handles the required microphones and recording workflow. Remote calls, computer playback, and headphone routing still need checking against the exact recorder’s capabilities.
What is mix-minus for a remote podcast guest?
Mix-minus is a feed that includes the session audio but excludes the remote guest’s own returning voice. It prevents delayed self-echo from that return path and must be tested with the actual call setup.
Can I buy used recording equipment through OohYeah?
OohYeah is a marketplace where buyers and sellers can trade studio gear and instruments. Confirm the exact model, condition, accessories, and compatibility of an individual listing before purchasing.
Should a podcast studio record separate tracks?
A podcast studio should record separate voice tracks when its equipment supports them. Separate tracks let the editor adjust individual speakers and reduce noise from inactive microphones without changing the whole conversation.
Will acoustic panels stop outside noise in my podcast studio?
Acoustic panels do not automatically stop outside noise. They primarily address reflections within the room; external noise requires attention to the room’s construction, openings, location, or recording schedule.
One last thing
Test the saved recording, not just the sound in your headphones. Your monitoring path can sound correct while the recording misses a remote guest or captures only a combined mix. Before the next booked session, make a rehearsal file and check every voice from start to finish.
Keep your 2026 upgrade list tied to those checks. Buy the missing input, fix the noisy cable, or improve the microphone position. A reliable session beats a rack full of gear you have not tested.