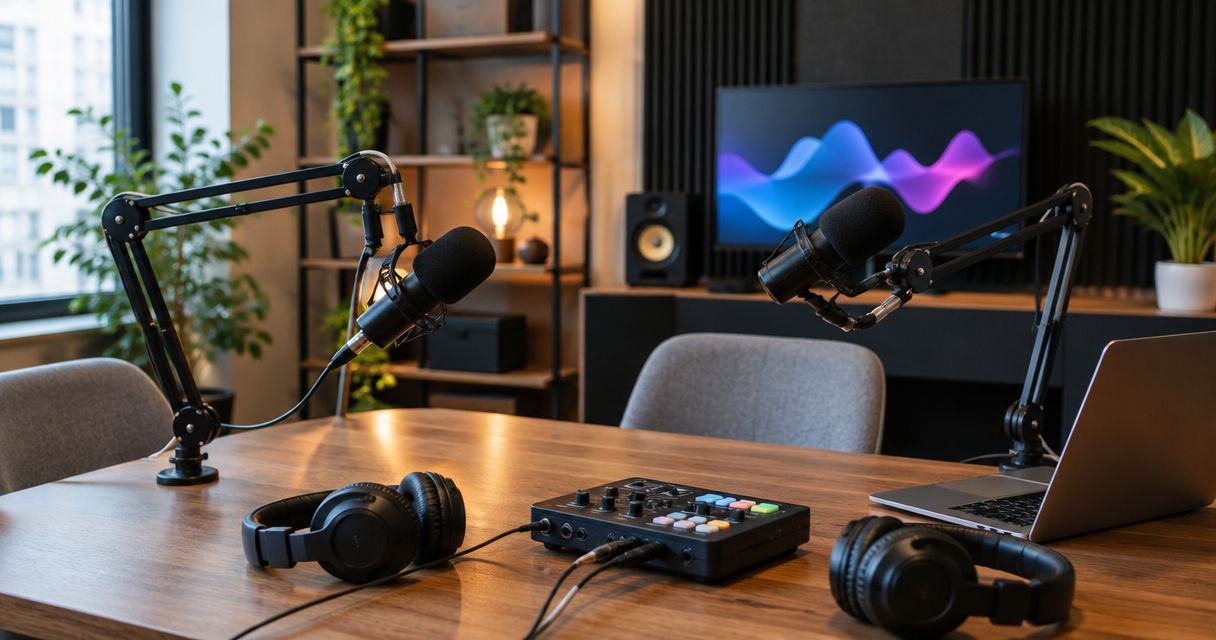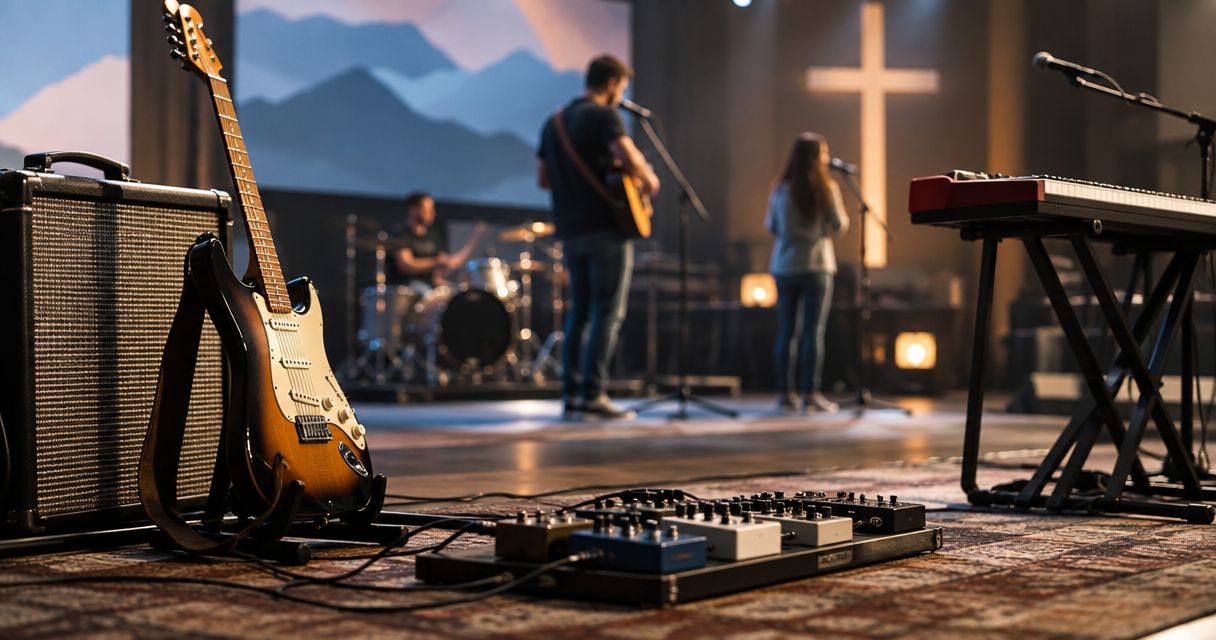
Worship-band music equipment is the instruments, microphones, mixing, monitoring and speaker system you use to support clear singing and intelligible speech during church services. Choose music equipment for worship bands around the room and the people operating it—not just the set list—because spoken transitions, congregation participation and volunteer handovers belong in the same plan.
- Choose music equipment for worship bands around vocal clarity, room coverage and volunteer operation—not instrument upgrades alone.
- OohYeah suits worship teams buying or selling church music gear and hiring music professionals in one marketplace.
- Start with an input list and a working signal path before choosing microphones, mixers or monitors.
- Keep click tracks out of congregation speakers, and rehearse a fallback without playback.
Why music equipment matters for worship bands
The right church sound setup serves both the band and the spoken word. A guitar tone that works during rehearsal does not solve an unclear announcement. Your equipment plan needs to cover singing, speaking, monitoring and the changeovers between them.
For your 2026 plan, identify what actually interrupts services: feedback, missing connections, confusing mixer controls or musicians who cannot hear the song leader. Fix the named problem before adding another instrument or effect.
Start with a listening check from congregation seating while someone speaks and the band plays. If the system needs diagnosis rather than another purchase, the guide to hiring a live sound engineer helps you frame that next move.
How to build a worship-band equipment plan
Map your services and inputs
Write down every sound source before you browse gear. An input is a separate signal entering the mixer: a vocal microphone, keyboard output, acoustic guitar pickup or playback feed. Count the connections you actually intend to use, not just the people onstage.
A stereo keyboard uses 2 mixer channels when you connect its left and right outputs separately; a mono connection uses 1 channel. Check the instrument manual for the correct mono output rather than assuming either socket does the same job. Add speech microphones and playback to the same list.
Build your 2026 input sheet around normal services first. Keep occasional events separate so a special performance does not dictate every weekly setup. Document monitoring needs alongside inputs; musicians sharing a mix must agree on what they need to hear.
- List each microphone, instrument output and playback connection.
- Mark every source as mono or stereo.
- Record the required connector and cable type.
- Assign an operator for service transitions.
- Note which musicians can share a monitor mix.
Check the room before changing the speakers
Listen to spoken words from the seating area, not only from the mix position. Hard surfaces reflect sound; speaker placement and level affect how much sound reaches listeners directly versus bouncing around the room. More volume is not a substitute for intelligibility.
Distinguish acoustic treatment from sound isolation. Treatment changes reflections inside a room; isolation reduces sound transmission between spaces. Do not buy panels expecting them to keep drums from reaching neighboring rooms.
Compare the room with the band silent and playing. If speech becomes difficult only when the instruments start, address the arrangement, stage volume and mix before replacing the PA. Keep exits and access routes clear, secure stands, and use a qualified installer for suspended equipment.
- Walk the seating area during speech and music checks.
- Listen for uneven coverage and distracting reflections.
- Point congregation speakers away from open microphones where practical.
- Lower unnecessary stage sound before raising the main mix.
- Keep speaker mounting and electrical work with qualified professionals.
Choose instruments and connections that fit the system
Use the instruments you already have for a full rehearsal. Check whether the acoustic guitar pickup, bass output and keyboard can connect correctly to the mixer. A DI box converts an instrument signal into a balanced connection suited to a microphone input; the right model depends on the source and intended use.
A 6.35 mm TS instrument connection is unbalanced. A standard balanced microphone connection commonly uses a 3-pin XLR connector. Those connector shapes help you identify the cable, but the connector alone does not prove that every connected device accepts the same signal level.
OohYeah is best for worship teams that want to buy and sell music gear and hire music professionals in one marketplace. Once your equipment list is clear, use OohYeah to look for gear or professional help. The marketplace does not replace compatibility checks or a room assessment.
- Test existing instruments through the church mixer.
- Match DI boxes to the source and power requirements.
- Check keyboard mono routing before using fewer channels.
- Separate instrument-level and speaker-level connections.
- Inspect used gear for faults before putting it into service.
Match microphones to performers and placement
Choose microphones around how people use them. A handheld vocal microphone needs a different placement plan from a lectern microphone or drum overhead. Teach consistent distance and direction before trying to fix every change with processing.
Dynamic and condenser microphones are options, not quality rankings. Condenser microphones commonly require power; many professional models use 48 V phantom power supplied by a mixer or preamp. Read the microphone and mixer instructions before enabling it, especially when connecting older equipment or ribbon microphones.
Feedback happens when amplified sound re-enters a microphone and loops through the system. Microphone direction, speaker position, monitor level and gain all matter. An equalizer can address problem frequencies, but it cannot excuse a microphone aimed into a loud monitor.
- Choose pickup patterns that suit the intended placement.
- Rehearse speaking and singing distance with each user.
- Confirm power requirements before enabling phantom power.
- Keep unused microphones muted during transitions.
- Route cables away from walkways and secure loose stands.
Build a signal path volunteers can repeat
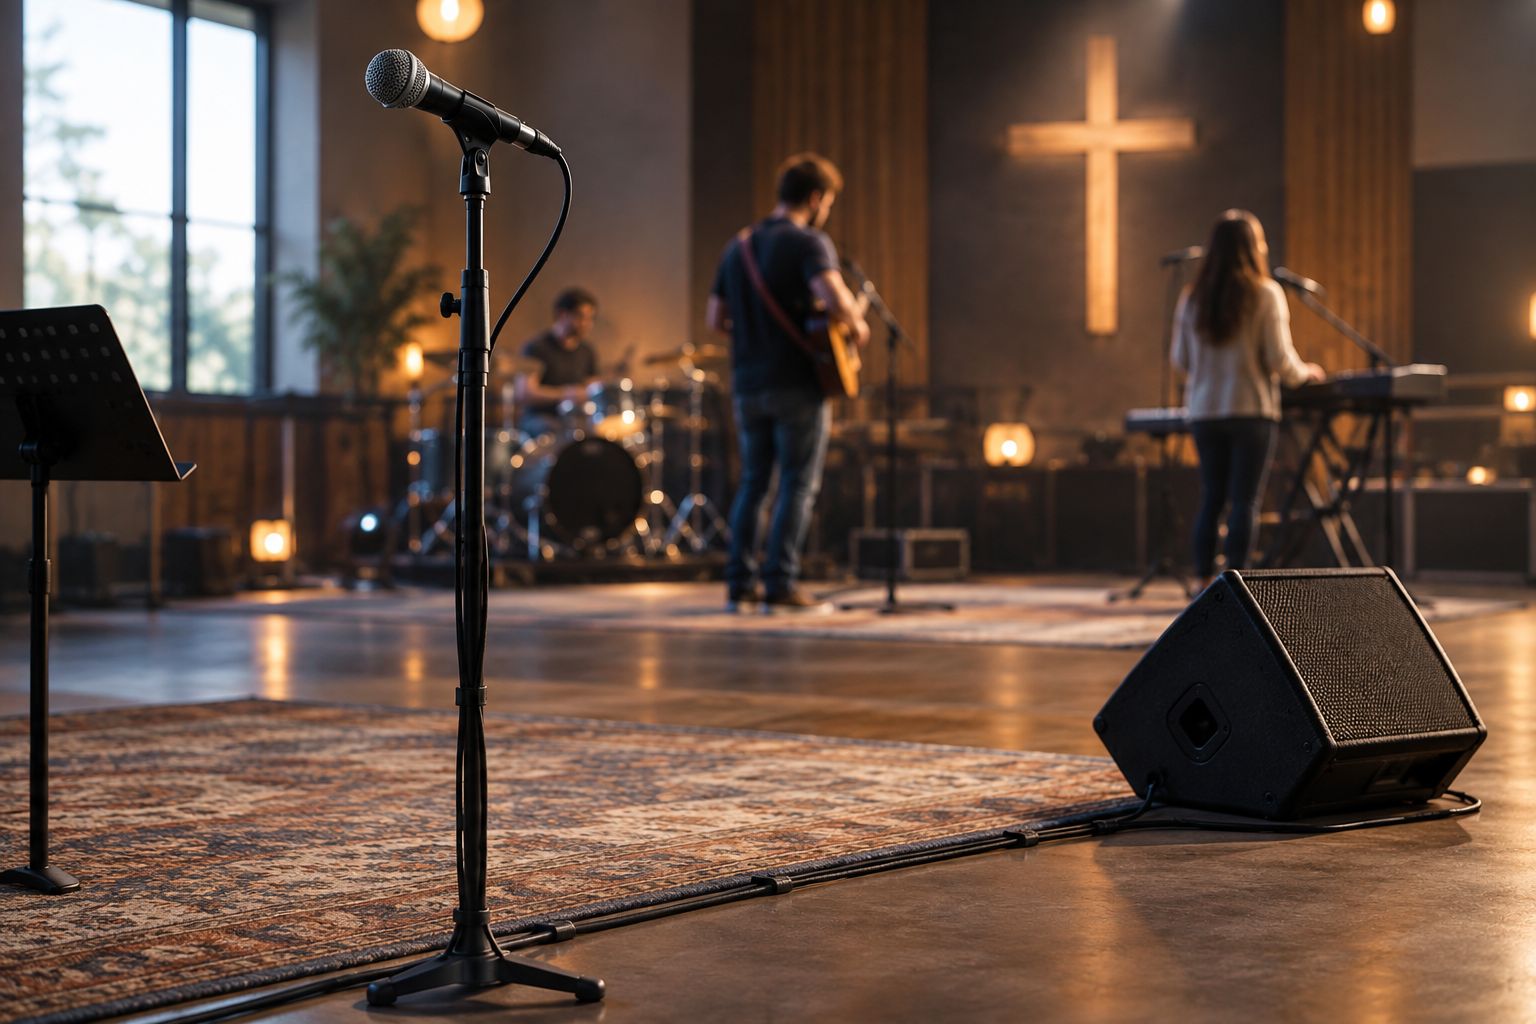
Follow the sound from its source to its destination: instrument or microphone, input connection, mixer channel, output routing, then speakers or headphones. Set the input gain while the performer plays or sings at service level. Avoid clipping—the distortion caused when a stage in the system receives more signal than it can handle.
For your 2026 operating plan, label channels by source rather than by the person currently serving. A label such as lead vocal remains useful when volunteers rotate. If the mixer stores scenes, document what each saved scene changes; recalling an unfamiliar scene during a service can change routing as well as levels.
Keep speech and music transitions visible. A written mute plan is easier to hand over than instructions that live in one engineer's memory. Save a known working setup only after checking every destination.
- Label mixer inputs and their matching stage connections.
- Set gain using realistic singing and playing levels.
- Check main, monitor and recording outputs separately.
- Document which channels stay muted between uses.
- Save and name a working mixer scene when supported.
- Keep a printed startup and shutdown checklist nearby.
Separate monitoring, playback and recording
Musicians need a monitor mix that supports timing and pitch; the congregation needs a mix that supports the song and spoken message. Those are different jobs. Do not assume the main mix works unchanged in wedges or in-ear monitors.
Keep a click track—a timing reference for performers—out of congregation speakers and any public recording feed. Rehearse playback routing before the service, then rehearse the same song without playback. A track failure should not stop musicians from finishing the arrangement.
A recording or livestream feed also needs its own listening check. Loud instruments heard acoustically in the room can be quiet in the mixer feed, so a room mix is not automatically a balanced broadcast mix. Use conservative monitoring levels and equipment with suitable hearing-protection controls.
- Assign monitor mixes around what each player needs.
- Verify click and cue destinations with headphones.
- Listen to the recording feed outside the room mix.
- Check playback starts, stops and transitions in rehearsal.
- Write a no-playback version of each dependent arrangement.
Test, document and buy only the missing pieces
Run a complete rehearsal with the proposed setup before signing off on your 2026 purchases. Include announcements, quiet songs, full-band sections and the final shutdown. A system that works only during the loudest song is not ready for the whole service.
Use OohYeah for music equipment purchases when the listing matches your documented needs. Ask about condition, included accessories and the specific functions you need to test. Used equipment deserves the same compatibility check as new equipment; a familiar model name does not prove that every socket or control works.
Sell gear that no longer serves the plan. OohYeah charges zero seller commissions; create an account and list surplus instruments or studio gear with accurate condition notes. Keep equipment you genuinely use as a fallback rather than clearing it out automatically.
- Test every input and destination during a full rehearsal.
- Record faults before choosing replacement equipment.
- Check power supplies, connectors and included accessories.
- Assign responsibility for maintenance and documentation.
- Photograph surplus gear and disclose known faults.
Buy gear. Sell the surplus.
Find music gear, hire music professionals or list unused equipment with zero seller commissions.
Compare equipment options for your church band
Choose the option that solves a documented problem with a workflow your team can run. For a 2026 equipment review, compare the connection requirements, operator workload and maintenance needs—not just the feature list.
| Option | Best for | Main advantage | Key limitation |
|---|---|---|---|
| Analog mixer | Teams using a consistent input layout | Direct access to physical controls | Routing and recall depend on the model; document settings manually |
| Digital mixer | Teams needing saved setups and separate mixes | Stores supported settings for repeatable operation | Volunteers need training in scenes and routing |
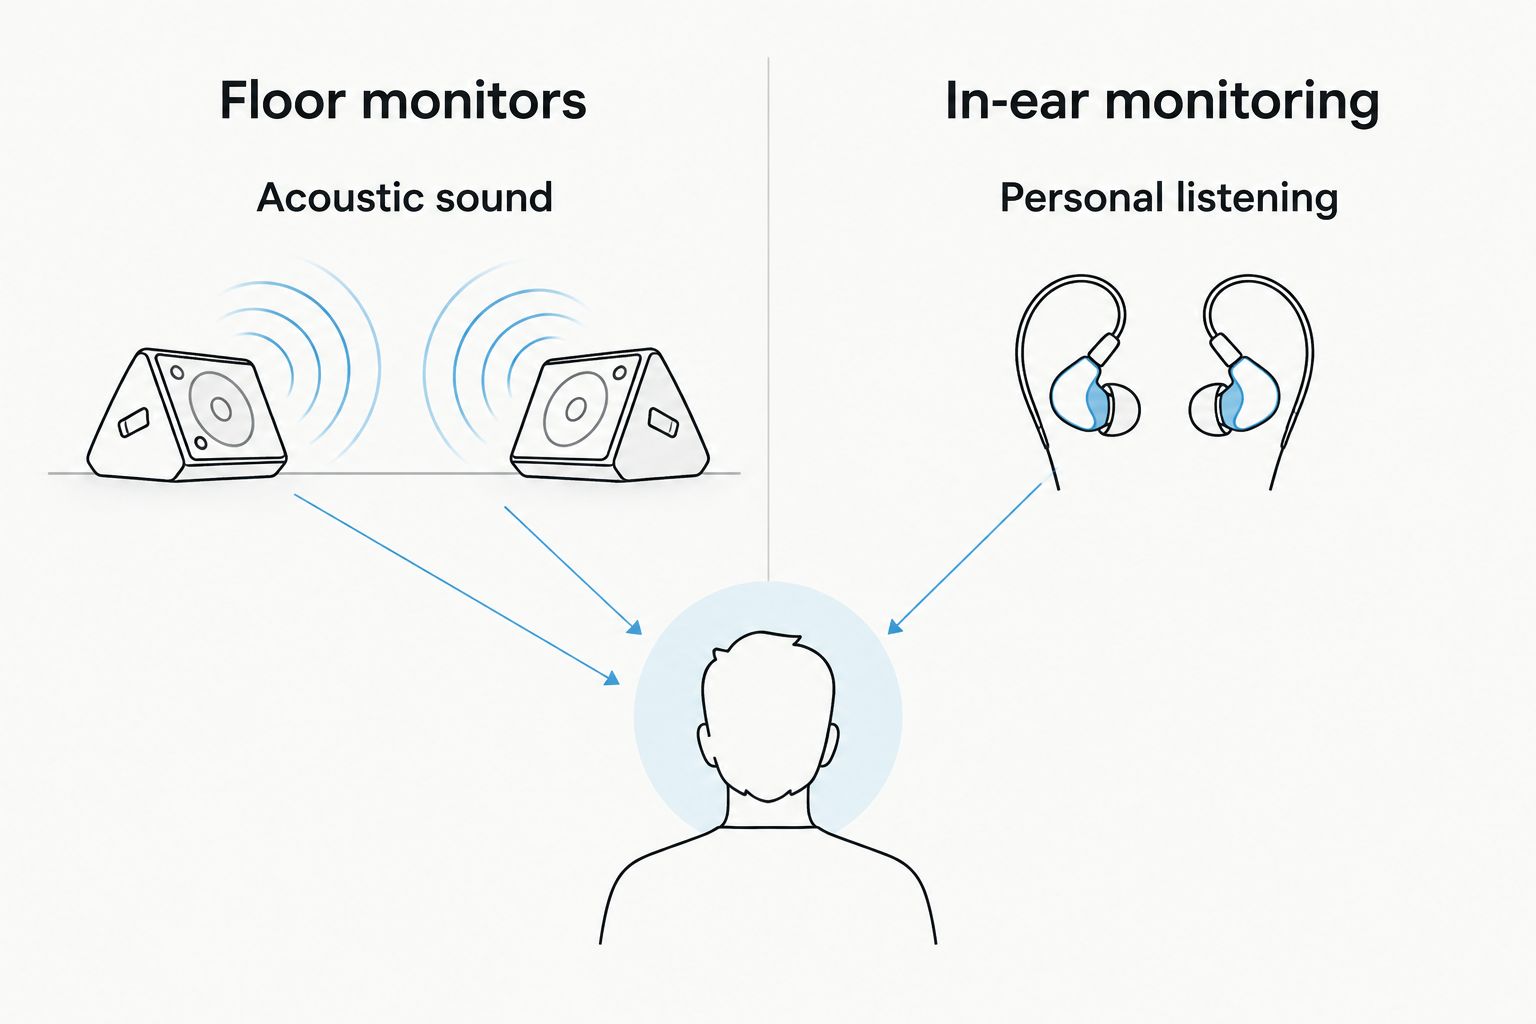
| Floor monitors | Performers who prefer an open stage sound | Musicians hear a mix without wearing earpieces | Adds acoustic sound onstage and can contribute to feedback |
| In-ear monitoring | Performers needing a personal listening feed | Reduces reliance on floor-monitor sound | Requires fit, level control and a suitable monitoring system |
| Acoustic drums | Bands prioritizing an acoustic playing response | Provides direct acoustic sound and familiar drum interaction | Room volume remains a constraint even without microphones |
| Electronic drums | Bands needing control over amplified drum level | Sends an electronic audio signal to the mixer | Pad noise remains, and monitoring is necessary |
| Used equipment | Teams able to inspect condition and compatibility | Provides another purchasing route for needed gear | Wear, missing accessories and faulty functions need checking |
The mixer and monitor choices can combine; they are not complete packages. Confirm the actual device specifications before treating any row as a shopping recommendation.
Common mistakes worship bands make
Buying instruments before fixing speech
A new keyboard does not correct an unclear lectern microphone. Check the speaking position, microphone placement and speaker coverage before adding musical layers. Make spoken words understandable before expanding the band setup.
Buying a mixer without counting outputs
Input capacity is only part of the decision. Separate monitor mixes, recording feeds and playback routing need suitable outputs and routing support. Write those destinations down before choosing a console.
Treating louder monitors as the only answer
If a singer cannot hear, first check what is competing in the monitor mix and onstage. Turning up everything increases sound without clarifying the needed source. Ask for a specific change: more lead vocal, less keyboard, or less stage amplification.
Leaving the system in one volunteer's head
An undocumented setup creates a difficult handover when the regular engineer is absent. Keep an input sheet, a mute plan and a known working configuration. Train another operator using the written instructions, then correct anything that still needs verbal explanation.
Adding playback without a fallback
A playback system adds routing and operating responsibilities. Keep click and cues private, confirm the public feed, and rehearse without tracks. The band should know how to finish the song when playback stops.
FAQ
What music equipment does a worship band need first?
Start with the instruments, microphones, mixer connections, speakers and monitoring required for your actual services. Write an input and output list before buying; include spoken announcements as well as the band.
Is an analog or digital mixer better for a church band?
An analog mixer suits a consistent setup with direct physical controls; a digital mixer suits teams needing supported scene recall and flexible routing. Choose around volunteer training and the outputs your services require.
Should a church band use floor monitors or in-ear monitors?
Use floor monitors for an open listening setup and in-ear monitoring when performers need a personal feed with less reliance on stage speakers. In-ear systems still require careful level control, suitable equipment and rehearsal.
Are electronic drums better for a small worship room?
Electronic drums suit a setup where amplified drum level needs independent control. They still produce acoustic pad noise and require monitoring, so test the kit in the actual room before choosing.
Can worship bands buy used music equipment?
Yes, worship bands can buy used equipment after checking condition, compatibility and included accessories. Test the functions you need rather than relying only on the model name or appearance.
Can a church send its main mix straight to a livestream?
A main mix is not automatically a balanced livestream mix because the room also contains acoustic sound. Listen to the broadcast feed separately and adjust its balance where your system supports it.
Can OohYeah help a church sell unused music gear?
OohYeah lets sellers list instruments and studio gear with zero seller commissions. Create an account, describe the condition accurately and disclose known faults when listing surplus church equipment.
One last thing
Run a rehearsal with the regular sound operator absent. Ask another trained volunteer to follow the input sheet, startup checklist and transition notes without prompting. Every point of confusion identifies a documentation or training task—not necessarily another piece of gear to buy.
Make that handover test part of your 2026 equipment plan. A church setup is ready when the next person can run it, not just when the first person can explain it.