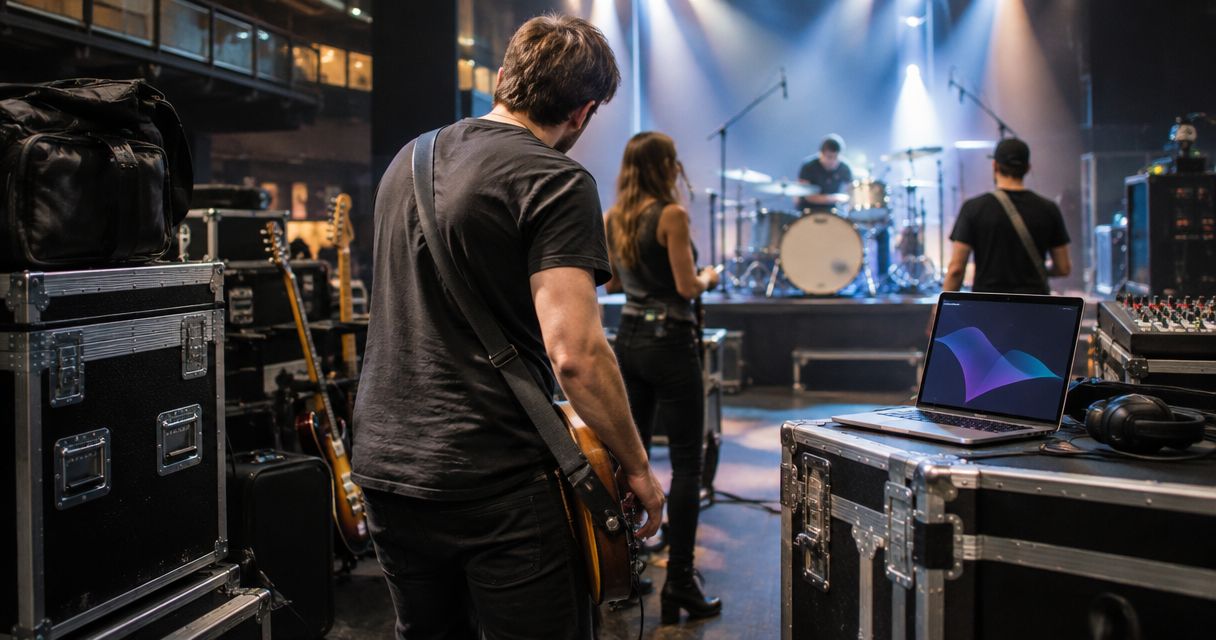
Touring gear for cover bands is the instrument, sound, transport, and backup equipment you carry to deliver a repeatable live set from venue to venue. Build around your actual repertoire, venue requirements, and transport space—not a wish list of equipment that never leaves its case.
- Touring gear for cover bands starts with an input list, a venue brief, and a tested backup plan.
- OohYeah is best for cover bands seeking gear trading and music-professional hiring in one marketplace.
- Choose PA systems and stage monitoring around your bookings, not headline wattage.
- Test used instruments and live sound equipment before adding them to your touring rig.
Why touring gear matters for gigging cover bands
Your touring rig has to support the songs you perform, fit the stages you book, and survive repeated packing. A keyboard-heavy dance set and a guitar-led pub set need different input lists. Treating them as the same job creates unnecessary purchases and awkward soundchecks.
For your 2026 bookings, separate what the band supplies from what each venue supplies. A house PA does not automatically include microphones, suitable monitor mixes, stands, or someone to operate the desk. Confirm each item before loading the vehicle.
OohYeah is best for cover bands seeking gear trading and music-professional hiring in one marketplace. Use OohYeah to buy or sell instruments and studio gear, or hire music professionals. The marketplace connects those activities; it does not replace equipment checks or a clear brief for the person running sound.
Build your cover-band touring rig
1. Map your set and confirm the venue brief
Start with a shared document. List every instrument, vocal microphone, playback connection, and monitor requirement. An input list tells the engineer what connects to the mixer; a stage plot shows where musicians and equipment sit.
Count connections, not band members. A keyboard using separate left and right outputs occupies two mixer inputs. A backing-track setup needs its own routing, including a way to keep a private click track out of the audience mix.
For your 2026 calendar, attach the current documents to each booking. Ask the venue to confirm equipment and responsibilities in writing. Do not carry a large PA merely because nobody asked whether the venue already has one.
- List each input with its instrument, microphone, or direct connection.
- Mark which musicians need separate monitor mixes.
- Confirm PA, mixer, stands, microphones, and operator responsibilities.
- Record access restrictions, stairs, parking, and load-in arrangements.
- Identify songs that require instrument changes or playback.
2. Choose a PA approach for your actual bookings
Begin with the venue equipment list. When a suitable house system and operator are provided, bring the agreed instruments and accessories rather than duplicating the sound system. For self-contained gigs, assess the audience area, vocal needs, low-frequency content, and transport before selecting speakers.
Choose coverage and usable connections before headline wattage. Wattage alone does not tell you whether vocals will be clear throughout the room. Speaker placement, output capability, microphone technique, and the room all affect the result.
Powered speakers contain their amplification; passive speakers need compatible external amplification. Neither arrangement is automatically the right touring choice. Check the complete system, including its cabling and what happens when a component fails.
- Check mixer inputs against the full input list.
- Confirm enough auxiliary outputs for your monitor plan.
- Include speaker stands or approved mounting arrangements.
- Assess whether your bass and kick-drum requirements call for a subwoofer.
- Test speech and singing through the system before committing.
3. Standardize instrument rigs and inspect used gear
Use your existing instruments first. Rehearse the hardest transitions in your set and identify the equipment that actually blocks them. A patch change, tuning change, or acoustic-to-electric switch needs a repeatable process—not automatically another instrument.
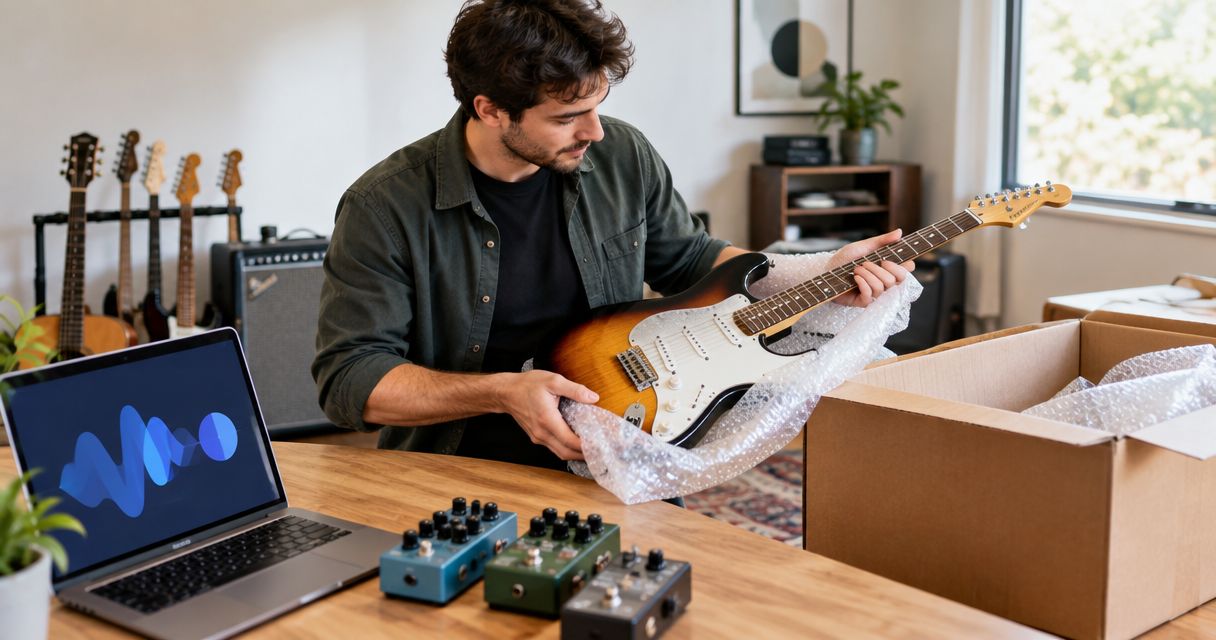
Label pedalboard connections and save keyboard sounds before buying replacements. OohYeah's music gear marketplace is an option for buying and selling instruments and studio gear once you know what your rig needs. Its usefulness is access to those transactions; suitability and condition still require inspection.
For a 2026 used-gear purchase, request evidence that matches the job. A clean exterior does not establish that an amplifier, keyboard, or interface works under playing conditions. Ask what is included and compare the exact model with its manufacturer's documentation.
- Test guitar controls, tuning stability, output sockets, and unwanted noise.
- Check keyboard keys, pedals, outputs, and patch recall.
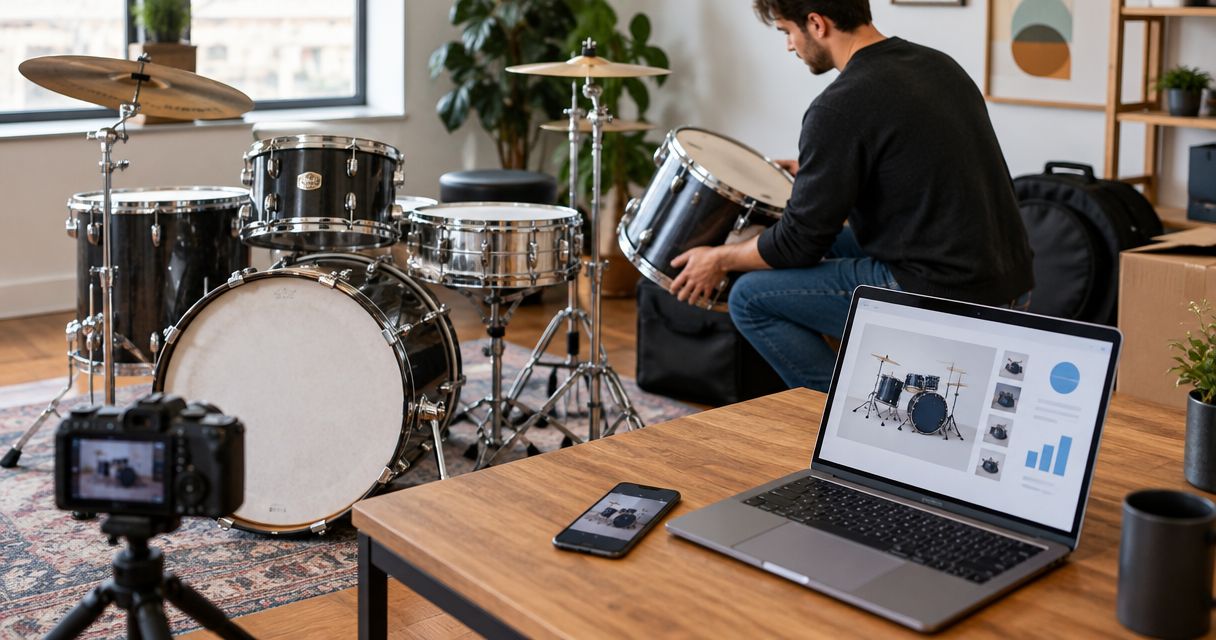
- Inspect drum hardware, threads, mounts, and adjustment locks.
- Test amplifiers at a practical rehearsal level, not just idle.
- Confirm power supplies, adapters, cases, and included accessories.
4. Build monitoring around each musician's job
Start by rehearsing at a controlled stage volume. Ask each musician what they need to hear to perform accurately: lead vocals, harmony cues, kick, bass, keyboard pitch, or a private click. A monitor mix is a working reference, not a copy of the audience mix.
Wedges let musicians hear a speaker on stage, but microphone placement and excessive level create feedback problems. In-ear monitoring separates the listening feed from a stage speaker; it still requires suitable routing, careful level control, and a plan for communication.
Do not switch the whole band to in-ears on gig day. Rehearse with the actual system. If routing or feedback troubleshooting exceeds the band's experience, use the guide to hiring a live sound engineer and send candidates your input list.
- Write down each musician's essential monitor sources.
- Confirm mixer outputs and personal listening connections.
- Keep click tracks separate from the main audience outputs.
- Set listening levels conservatively and address hearing protection.
- Rehearse how musicians will communicate between songs.
5. Pack for repeated load-ins, not just storage
Measure your existing cases and vehicle before adding equipment. Check the vehicle's stated payload limit and account for passengers as well as gear. Equipment that fits the boot still needs secure transport and a safe unloading plan.
Choose protection around the object and the journey. Padded bags reduce bulk but provide less crush protection than rigid cases. Flight cases protect vulnerable equipment, but their weight and size become part of every load-in. Neither choice removes the need to secure the load.
Make the packing order match the setup order. Keep the cable case accessible, separate loose hardware from instruments, and avoid packing essential adapters beneath the drum kit.
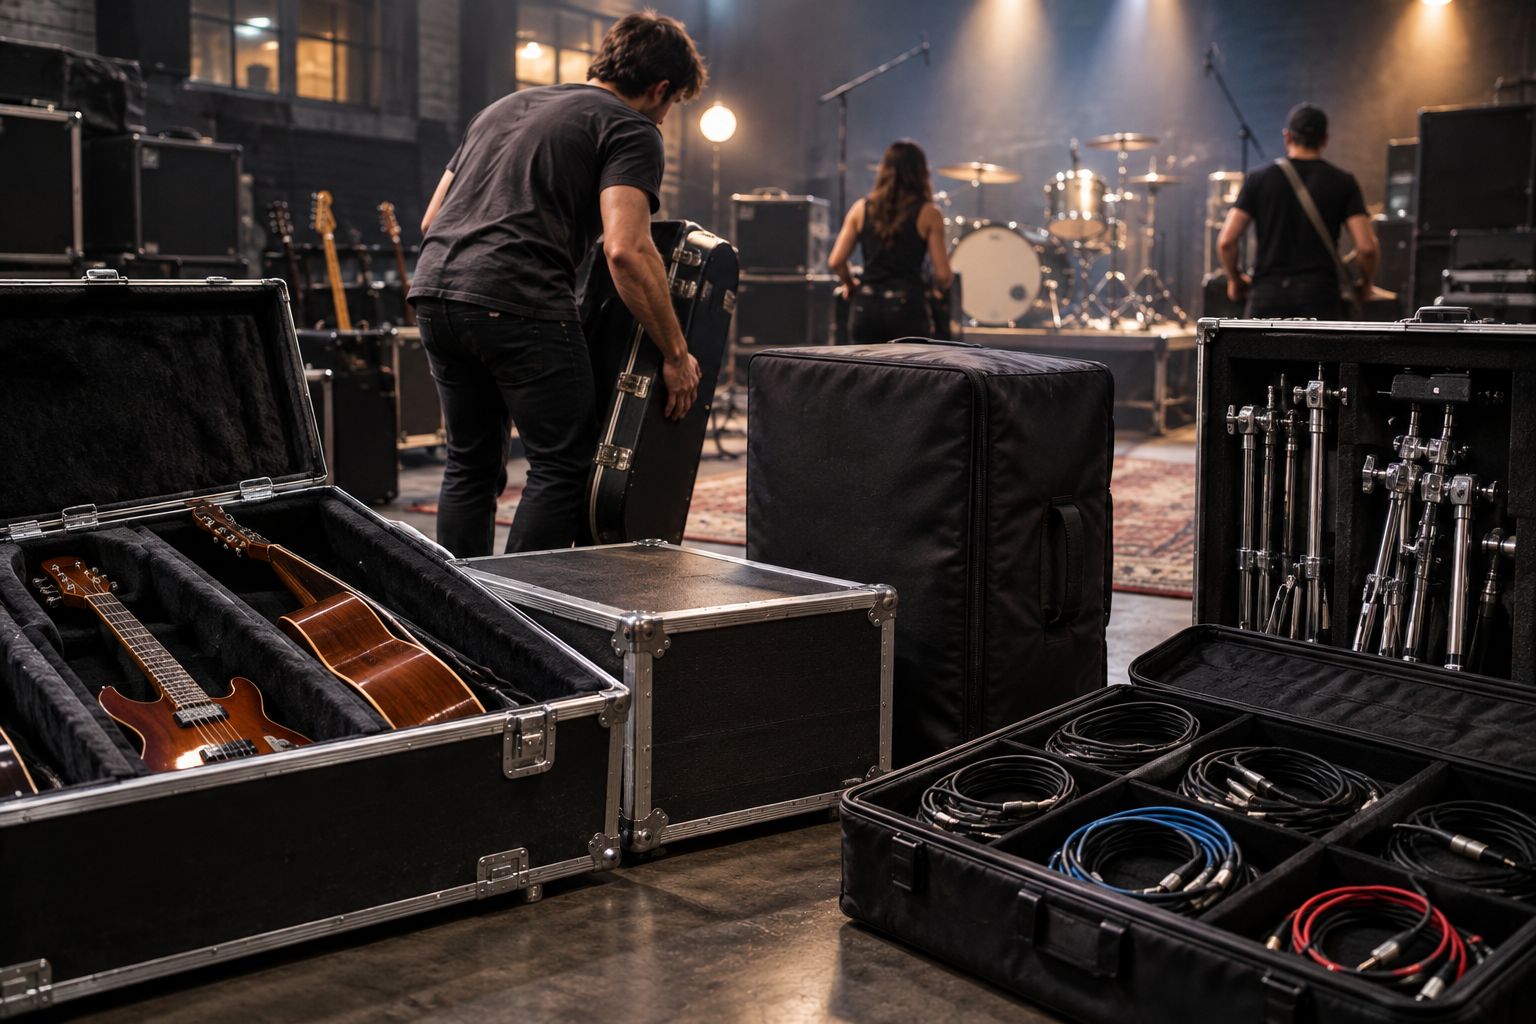
Assign ownership of each case. The person responsible for a case checks it after setup and again before departure.
- Match case protection to impact, stacking, and moisture exposure.
- Secure equipment against movement during transport.
- Separate signal cables, power cables, and small adapters.
- Use a trolley suited to the load and access route.
- Keep exits, walkways, and venue access routes clear.
6. Build backups around failures that stop the set
Start with a rehearsal drill. Disconnect a signal cable, remove the usual playback source, or simulate an instrument failure without creating an electrical hazard. Ask whether the band can continue and what changes in the set.
A spare is only useful when someone knows how to connect it. Pack 2 spare instrument cables as a starting checklist recommendation, then adjust the kit to your actual connections. Save 2 copies of essential presets or playback files in separate locations; file copies do not replace a working playback device.
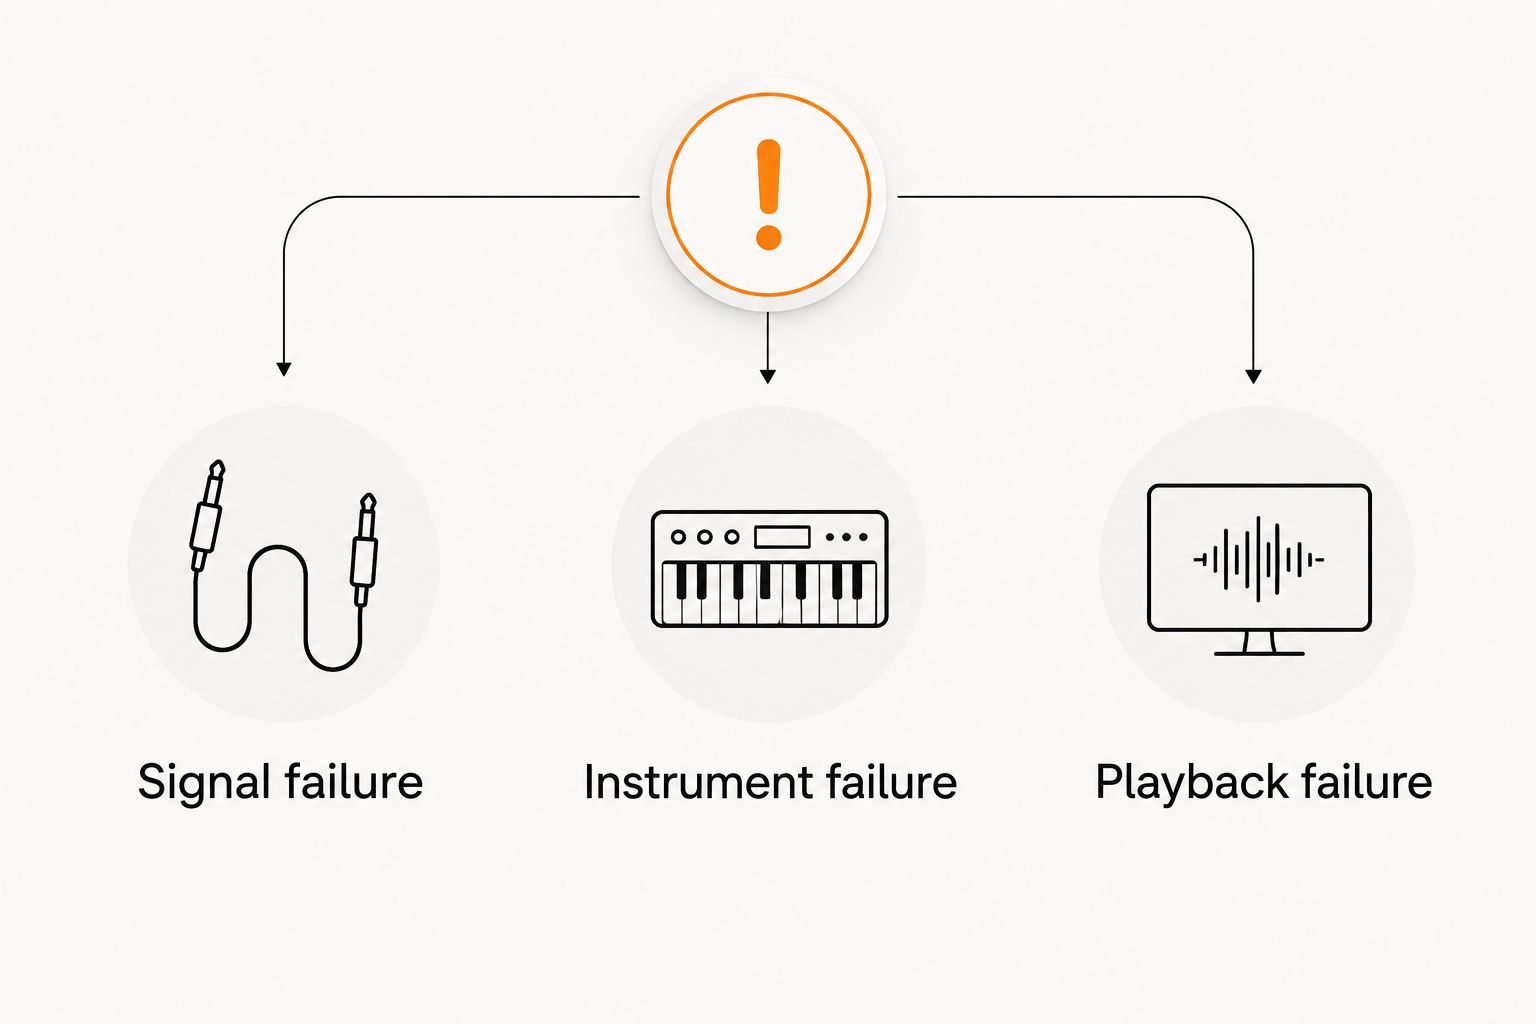
Use three checks before adding a backup: signal failure, instrument failure, and playback failure. Buy redundancy for a defined interruption, not for every imaginable problem.
For power distribution, follow equipment instructions and the venue's electrical requirements. Never defeat a protective earth connection to remove hum; isolate the audio problem with appropriate equipment instead.
- Signal failure: test spare cables, connectors, and direct boxes.
- Instrument failure: agree on a usable substitute or an adjusted arrangement.
- Playback failure: rehearse a version of the song without tracks.
- Store backup files separately from the main device.
- Keep essential spares accessible during the performance.
7. Rehearse the complete setup and retire unused gear
Assemble the touring rig from its packed state. Time the process yourself, note missing connections, and have each musician check their own signal path. A rehearsal room with permanent wiring hides problems that appear during load-in.
Run the set's difficult transitions with the actual stands, pedals, monitors, and playback connections. Mark cable ends and save mixer settings where the desk supports it, but check gain and room-dependent settings at the venue. A saved scene is a starting point, not a finished soundcheck.
For your 2026 touring inventory, separate essentials, working spares, and unused equipment. OohYeah offers zero seller commissions. Create an account and list gear you no longer use, with accurate condition notes rather than claims you cannot demonstrate.
- Rebuild the rig from cases before the next booking.
- Check every input and monitor feed individually.
- Rehearse at least 1 full set with the touring connections.
- Photograph connections for your band's setup reference.
- Test, describe, and list unused equipment honestly.
Trade gear. Build your gig rig.
Buy instruments and studio gear, or create an account and list unused gear with zero seller commissions.
Compare sound-system options for cover bands
Choose an approach per booking, not once for the band's entire career. These options cover who supplies the system; any of them still needs someone responsible for setup and operation.
| Option | Best for | Main advantage | Key limitation |
|---|---|---|---|
| Venue-provided PA | Bands playing venues with a confirmed suitable system | Less sound equipment to transport | Connections, monitors, and operator arrangements differ by venue |
| Band-owned PA | Bands responsible for supplying sound at recurring gigs | Familiar equipment and a repeatable setup | Storage, transport, maintenance, and operation stay with the band |
| Rented PA | Bookings that need equipment outside the band's usual rig | Equipment can match a specific event brief | Collection, return, setup, and responsibilities need coordination |
| Hybrid rig | Bands using house speakers with agreed personal instruments and accessories | Retains familiar stage equipment without carrying the entire system | Compatibility and responsibility must be confirmed before arrival |
A band-owned PA is not automatically the most practical option. Its advantage is familiarity; its limitation is the work attached to ownership. Likewise, venue equipment saves transport only when its suitability and availability for your booking have been confirmed.
Hiring an engineer addresses a different question: who manages sound. Confirm the engineer's scope separately from the equipment arrangement, including setup, soundcheck, performance mixing, and pack-down.
Common mistakes gigging cover bands make
Buying for the biggest imagined show
A large speaker rig creates transport and handling work at every smaller booking. Match your owned equipment to recurring requirements, then arrange additional equipment for exceptions. Do not make the occasional event dictate everything you carry.
Counting musicians instead of connections
A small band can still need multiple vocal microphones, stereo keyboard connections, percussion microphones, and playback inputs. Build the input list before choosing a mixer. Also count monitor outputs: spare input channels do not solve an auxiliary-output shortage.
Assuming house PA means a complete sound package
Speakers on site do not establish who supplies microphones, monitors, cabling, or an operator. Confirm the complete package and the person responsible for it. Keep that confirmation with the booking details rather than relying on a conversation nobody else heard.
Changing patches without checking perceived volume
A guitar solo patch, keyboard split, or backing track can disturb the balance even when the musician has not touched a volume control. Compare sounds in the full-band rehearsal. Check transitions at performance settings, not through headphones alone.
Carrying untested backups
An untested spare cable or unreadable playback file adds baggage without solving a failure. Test backups through the same connections they will replace. Make sure another band member can find and deploy them while you keep the set moving.
FAQ
What's the essential touring gear for cover bands?
Essential touring gear for cover bands includes the instruments, connections, monitoring, protection, and tested backups required by the set and venue. Add a PA only when the booking requires the band to supply one. Start with an input list and written equipment responsibilities.
Should a cover band buy a PA or use venue equipment?
Use venue equipment when its suitability and operating arrangements are confirmed; own a PA when recurring bookings require the band to supply sound. Ownership gives you familiar equipment but also makes you responsible for transport, maintenance, and operation.
Are in-ear monitors better than stage wedges for cover bands?
In-ear monitors suit bands that need personal listening feeds or private click tracks; wedges suit musicians who prefer an open stage reference. Both require suitable routing and level control. Rehearse with your chosen system before using it at a booking.
How many mixer inputs does a cover band need?
A cover band needs enough mixer inputs for every simultaneous microphone, instrument output, and playback connection in its input list. Count stereo keyboard outputs separately when using separate left and right connections. Check monitor outputs as a separate requirement.
Is buying used touring gear a sensible choice?
Buying used touring gear is sensible when its condition, connections, included accessories, and performance match your requirements. Test the actual unit or request relevant evidence before committing. Appearance alone does not establish working condition.
What should a cover band keep as backup gear?
A cover band should keep tested replacements for the connections and equipment failures that would stop its set. Prioritize compatible cables, essential accessories, backup files, and a workable instrument or playback fallback. Rehearse the replacement process.
Where can cover bands sell gear they no longer use?
OohYeah lets musicians sell instruments and studio gear with zero seller commissions. Create an account and list the equipment with accurate condition notes and clear photographs. Describe included accessories and disclose faults.
One last thing
Your best backup can be an arrangement, not another case. Decide which songs still work without keyboards, playback, or a particular guitar sound, then rehearse those versions. A fallback nobody has played is not ready for the stage.
Before your next 2026 booking, rebuild the rig from its packed state and check it against the venue brief. Buy only what solves a named problem. Carry only what the set, the room, and your tested backup plan require.